How to Install New Trailer Lights Like a Pro
Getting new lights on a trailer? No sweat. Here’s a straightforward guide to make it happen without breaking a sweat.
Connect the Trailer
First things first, hook up that trailer to the tow vehicle. This gives a solid base to work from.
Run New Wiring
Time to run the new wiring. Grab that 6 or 7 core trailer harness and run it down one side of the trailer. You can tuck it through the chassis rail underneath or zip-tie it to the trailer frame.
Don’t forget to trim off any extra wire at the end.
Strip the Insulation
Next up, strip about 1 cm of insulation from all the wires. Keep it neat!
Mount the New Trailer Lights
Grab the two lights from the kit and take off the old ones. Mount one light on each side of the trailer, right where the old ones were. Don’t forget about the number plate light—one of the new lights usually has a clear section for that.
Each light will have bolts or spare holes for fitting. Slide those bolts or screws through the holes and secure the lights in place.
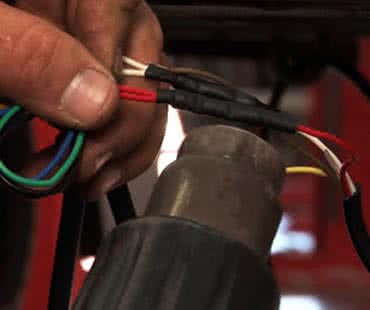
Connect the Wiring
Now, it’s time to connect the wires from the lights to the new wiring. Before doing that, slide a piece of heat shrink over each wire.
Match each colored wire from the light to the same color on the trailer wiring. Once connected, slide the heat shrink over the joint and use heat to seal it up tight.
Repeat this for the second light.
Test It Out
Plug the trailer into the tow vehicle and test those lights. If everything’s looking good, wrap up all connections with electrical tape to keep moisture and dirt out.