How to Fix Scratches and Swirl Marks on Your Car
It’s a bummer when those pesky scratches and swirl marks ruin the shine of a ride. But don’t sweat it! With a few simple steps, it’s possible to bring that luster back without breaking the bank. Here’s how to get it done.
Step 1: Prep the Paintwork
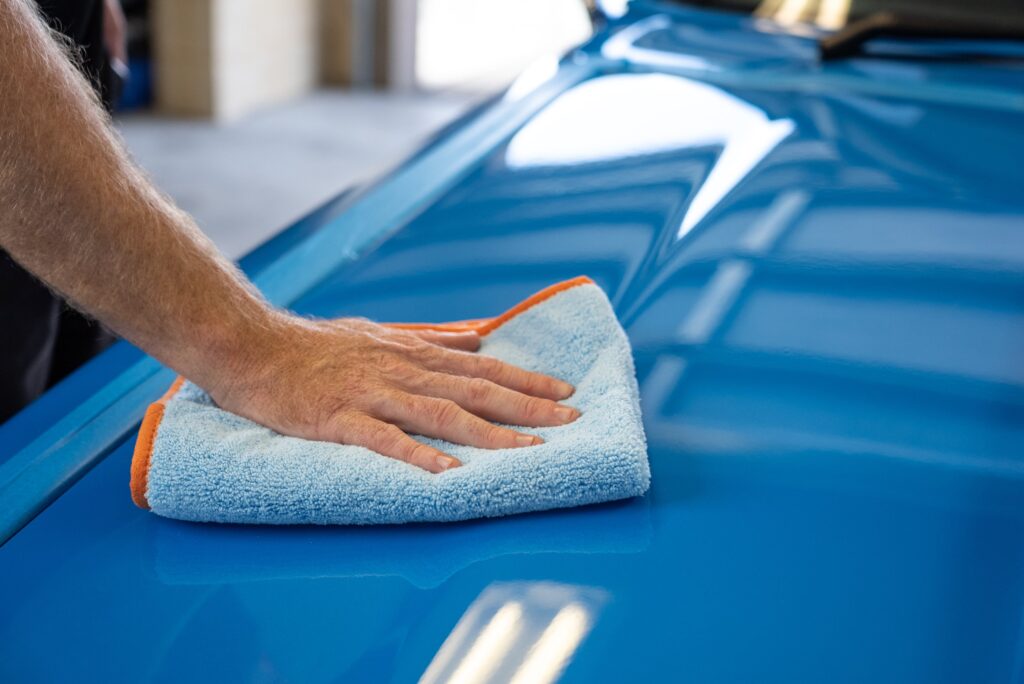
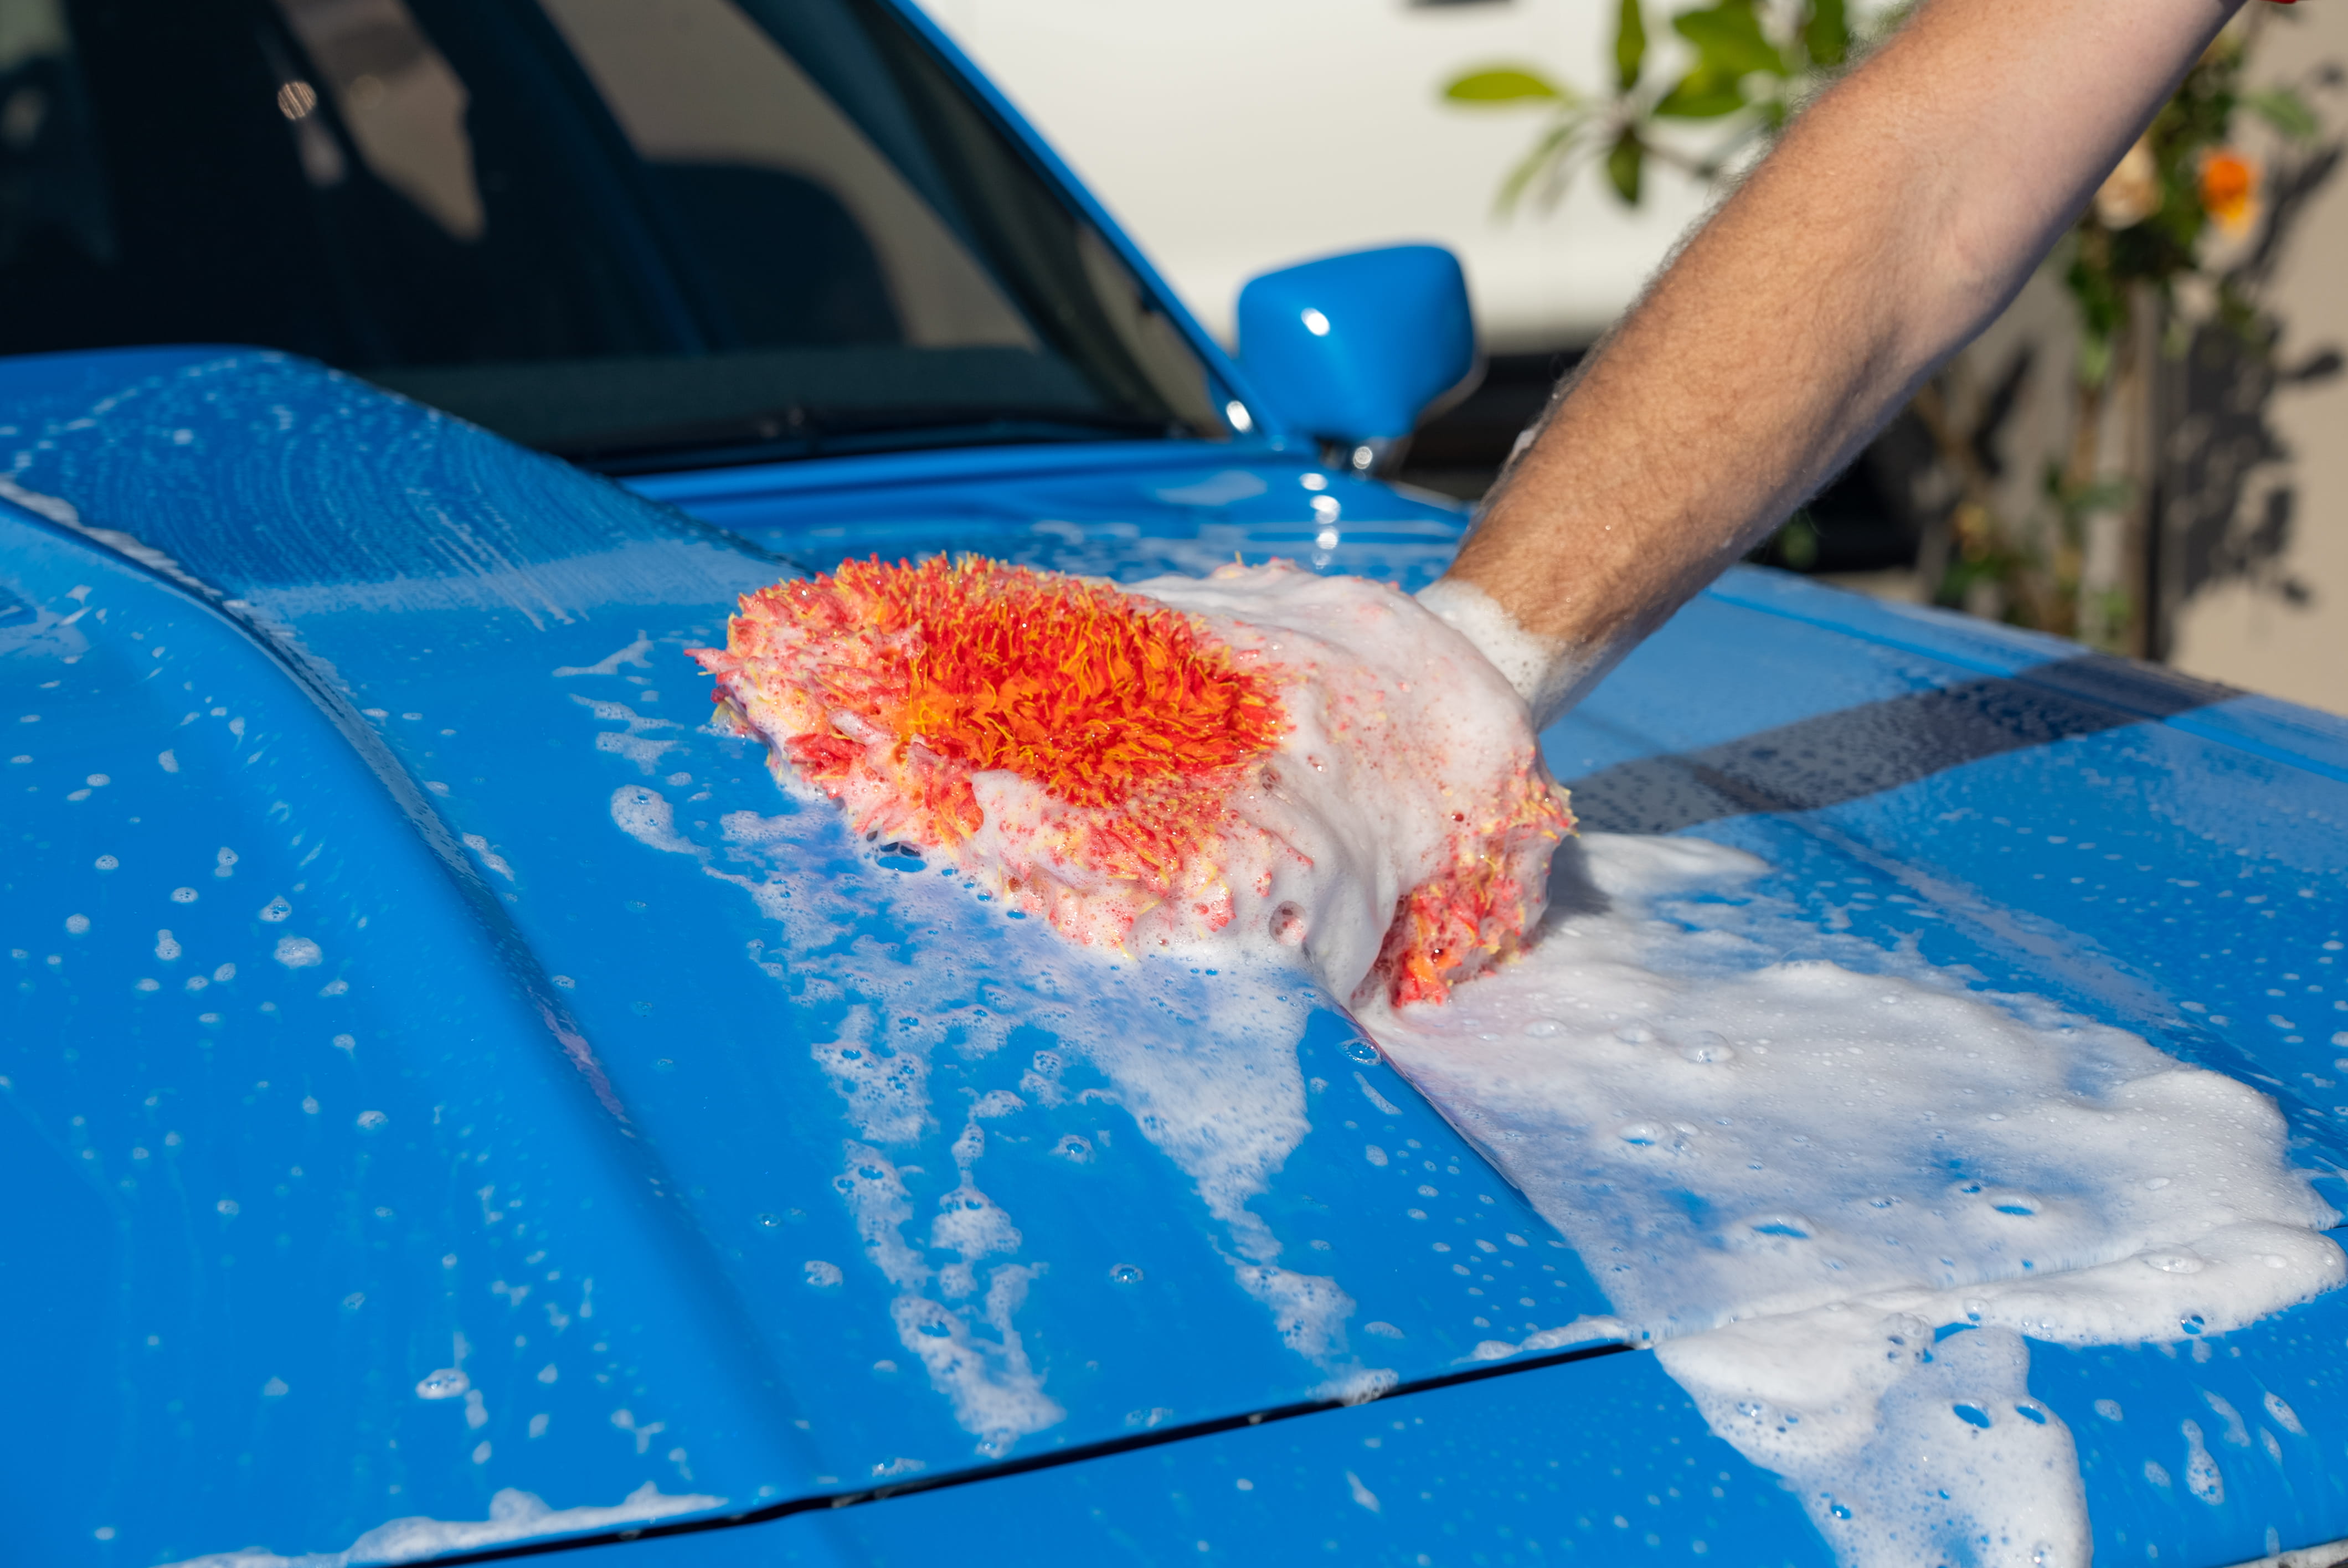
First things first, move the car into some shade. Nobody wants to work in the blazing sun. Give it a solid rinse and then hand wash it. The two-bucket method is the way to go—one bucket for suds and another for rinsing the cloth. This trick helps dodge those annoying swirl marks down the line.
When drying, reach for a quality chamois or a couple of microfiber towels. If one hits the ground, toss it. Using a dirty towel is just asking for more swirl marks, and nobody wants to deal with extra paint repairs before starting.
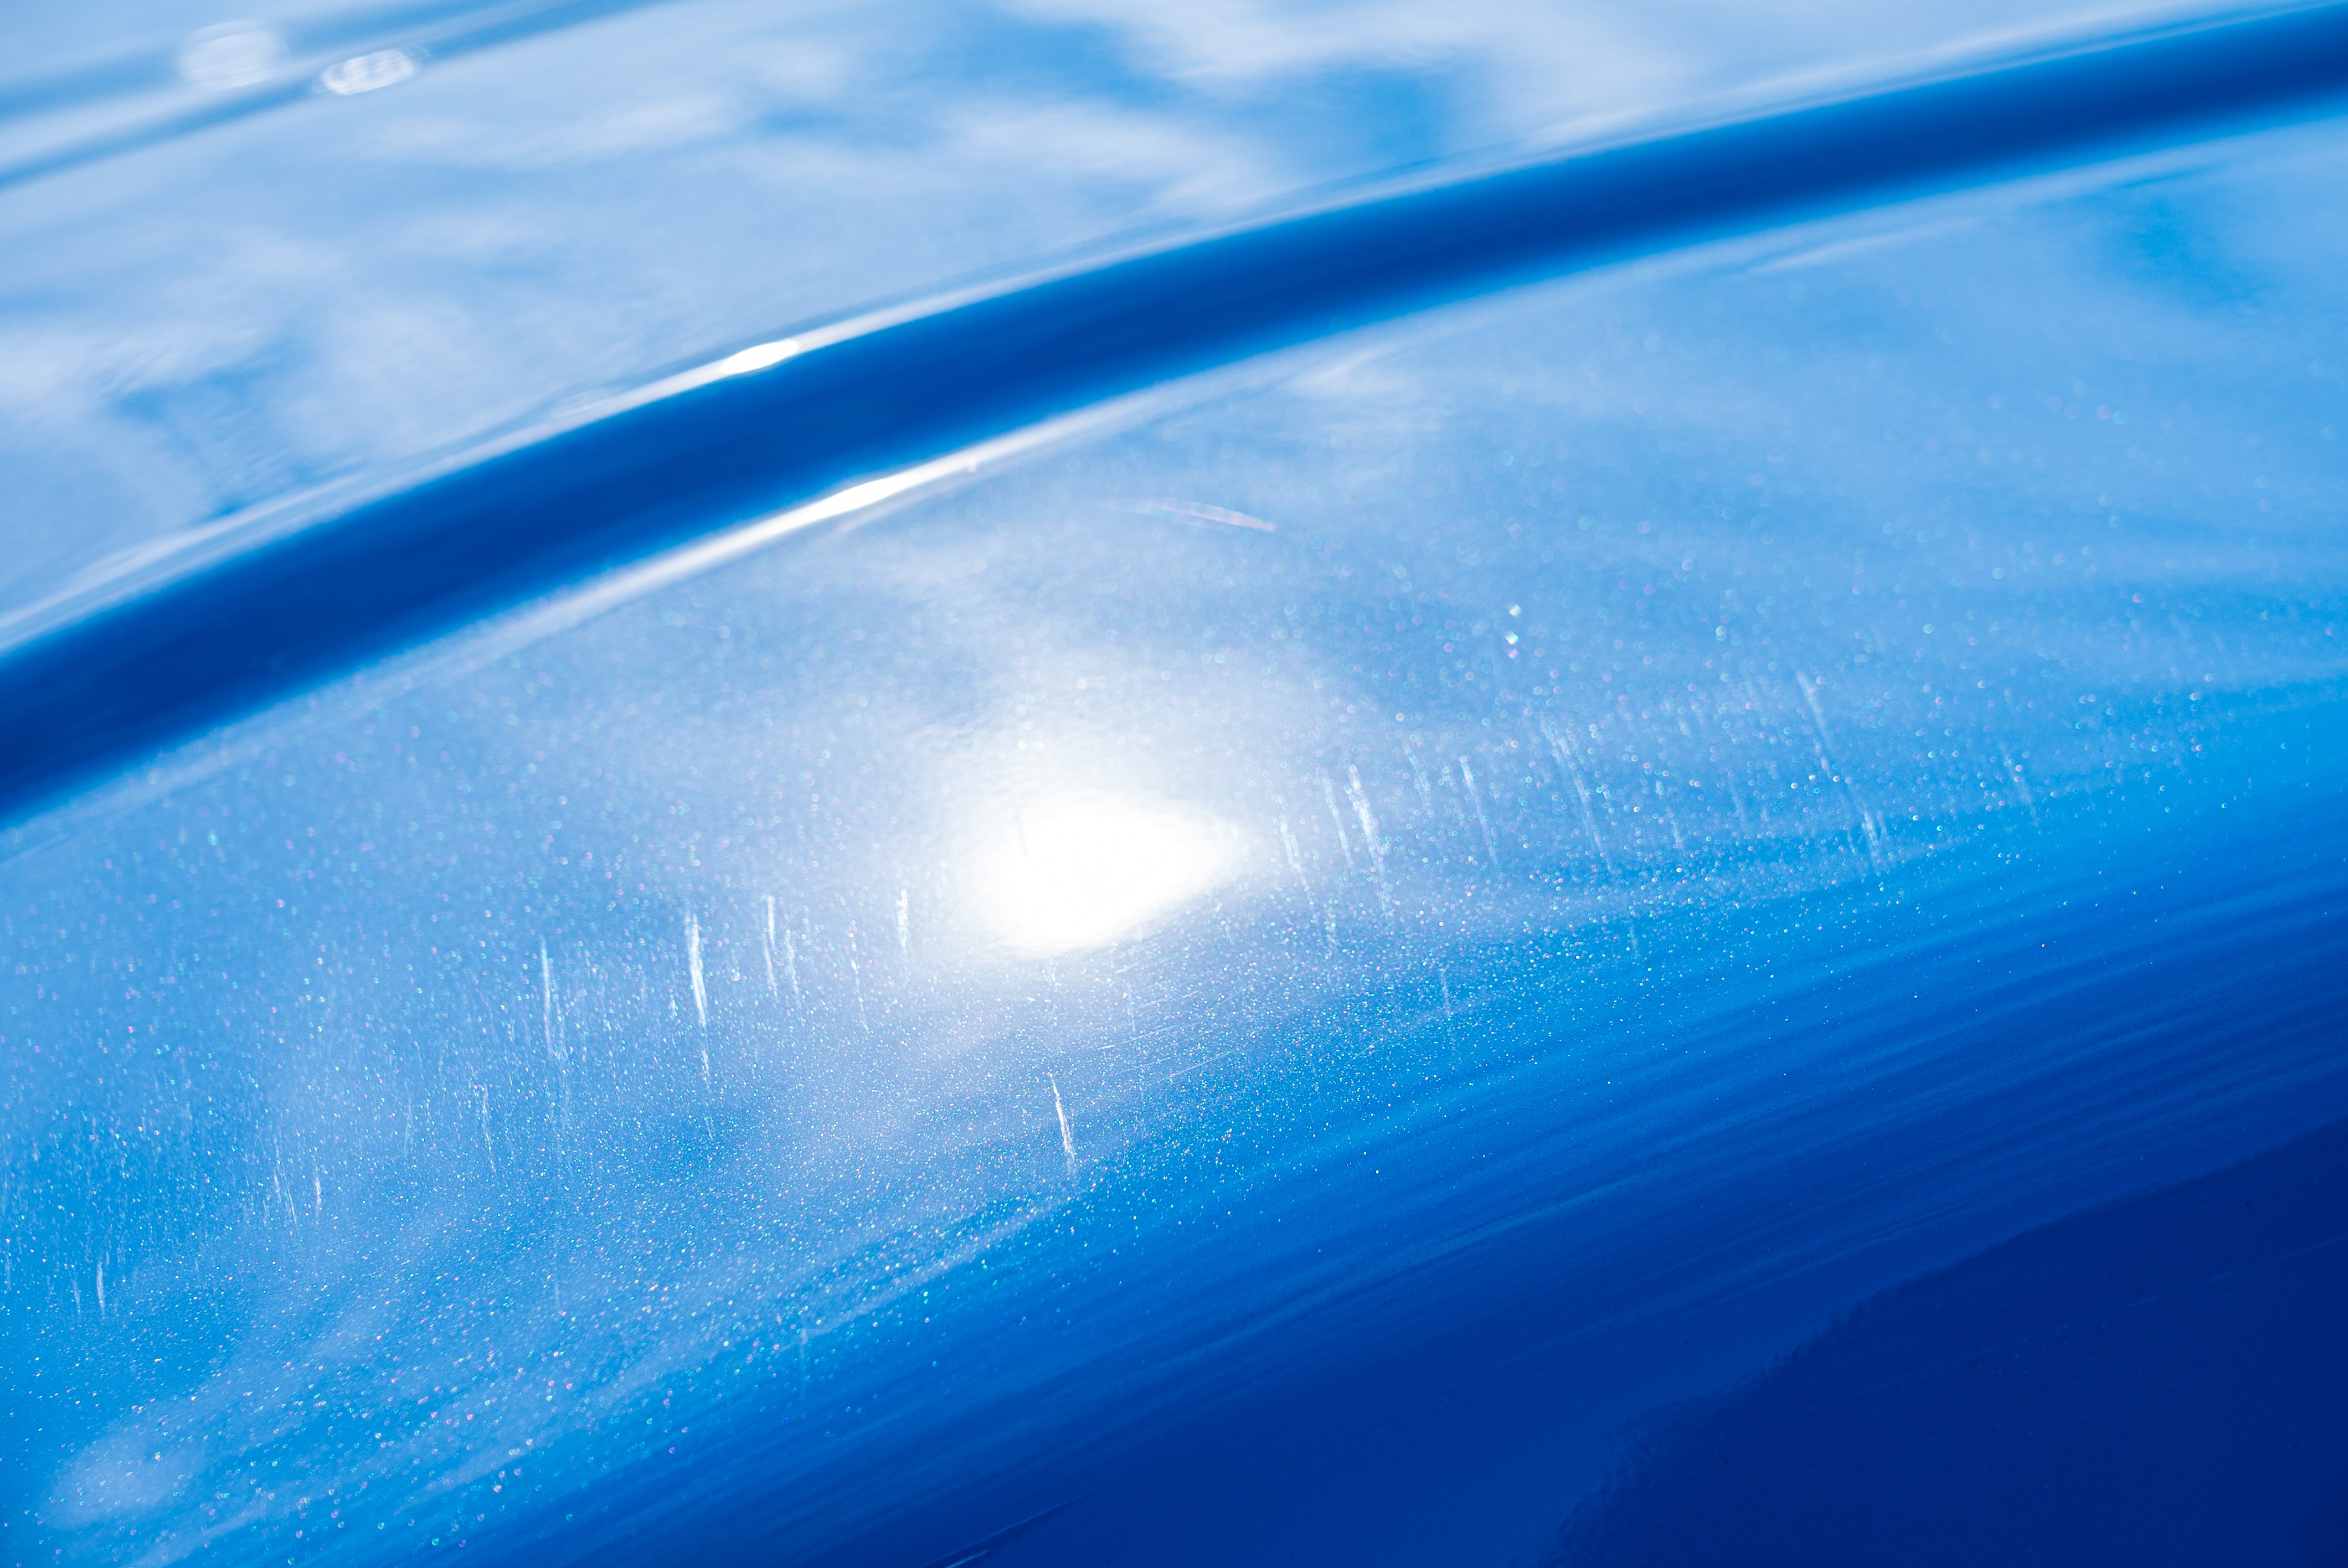
Step 2: Buff Out Scratches
Once the car is dry, it’s time to tackle those scratches. If swirl marks are the main concern, feel free to skip ahead to the next step.
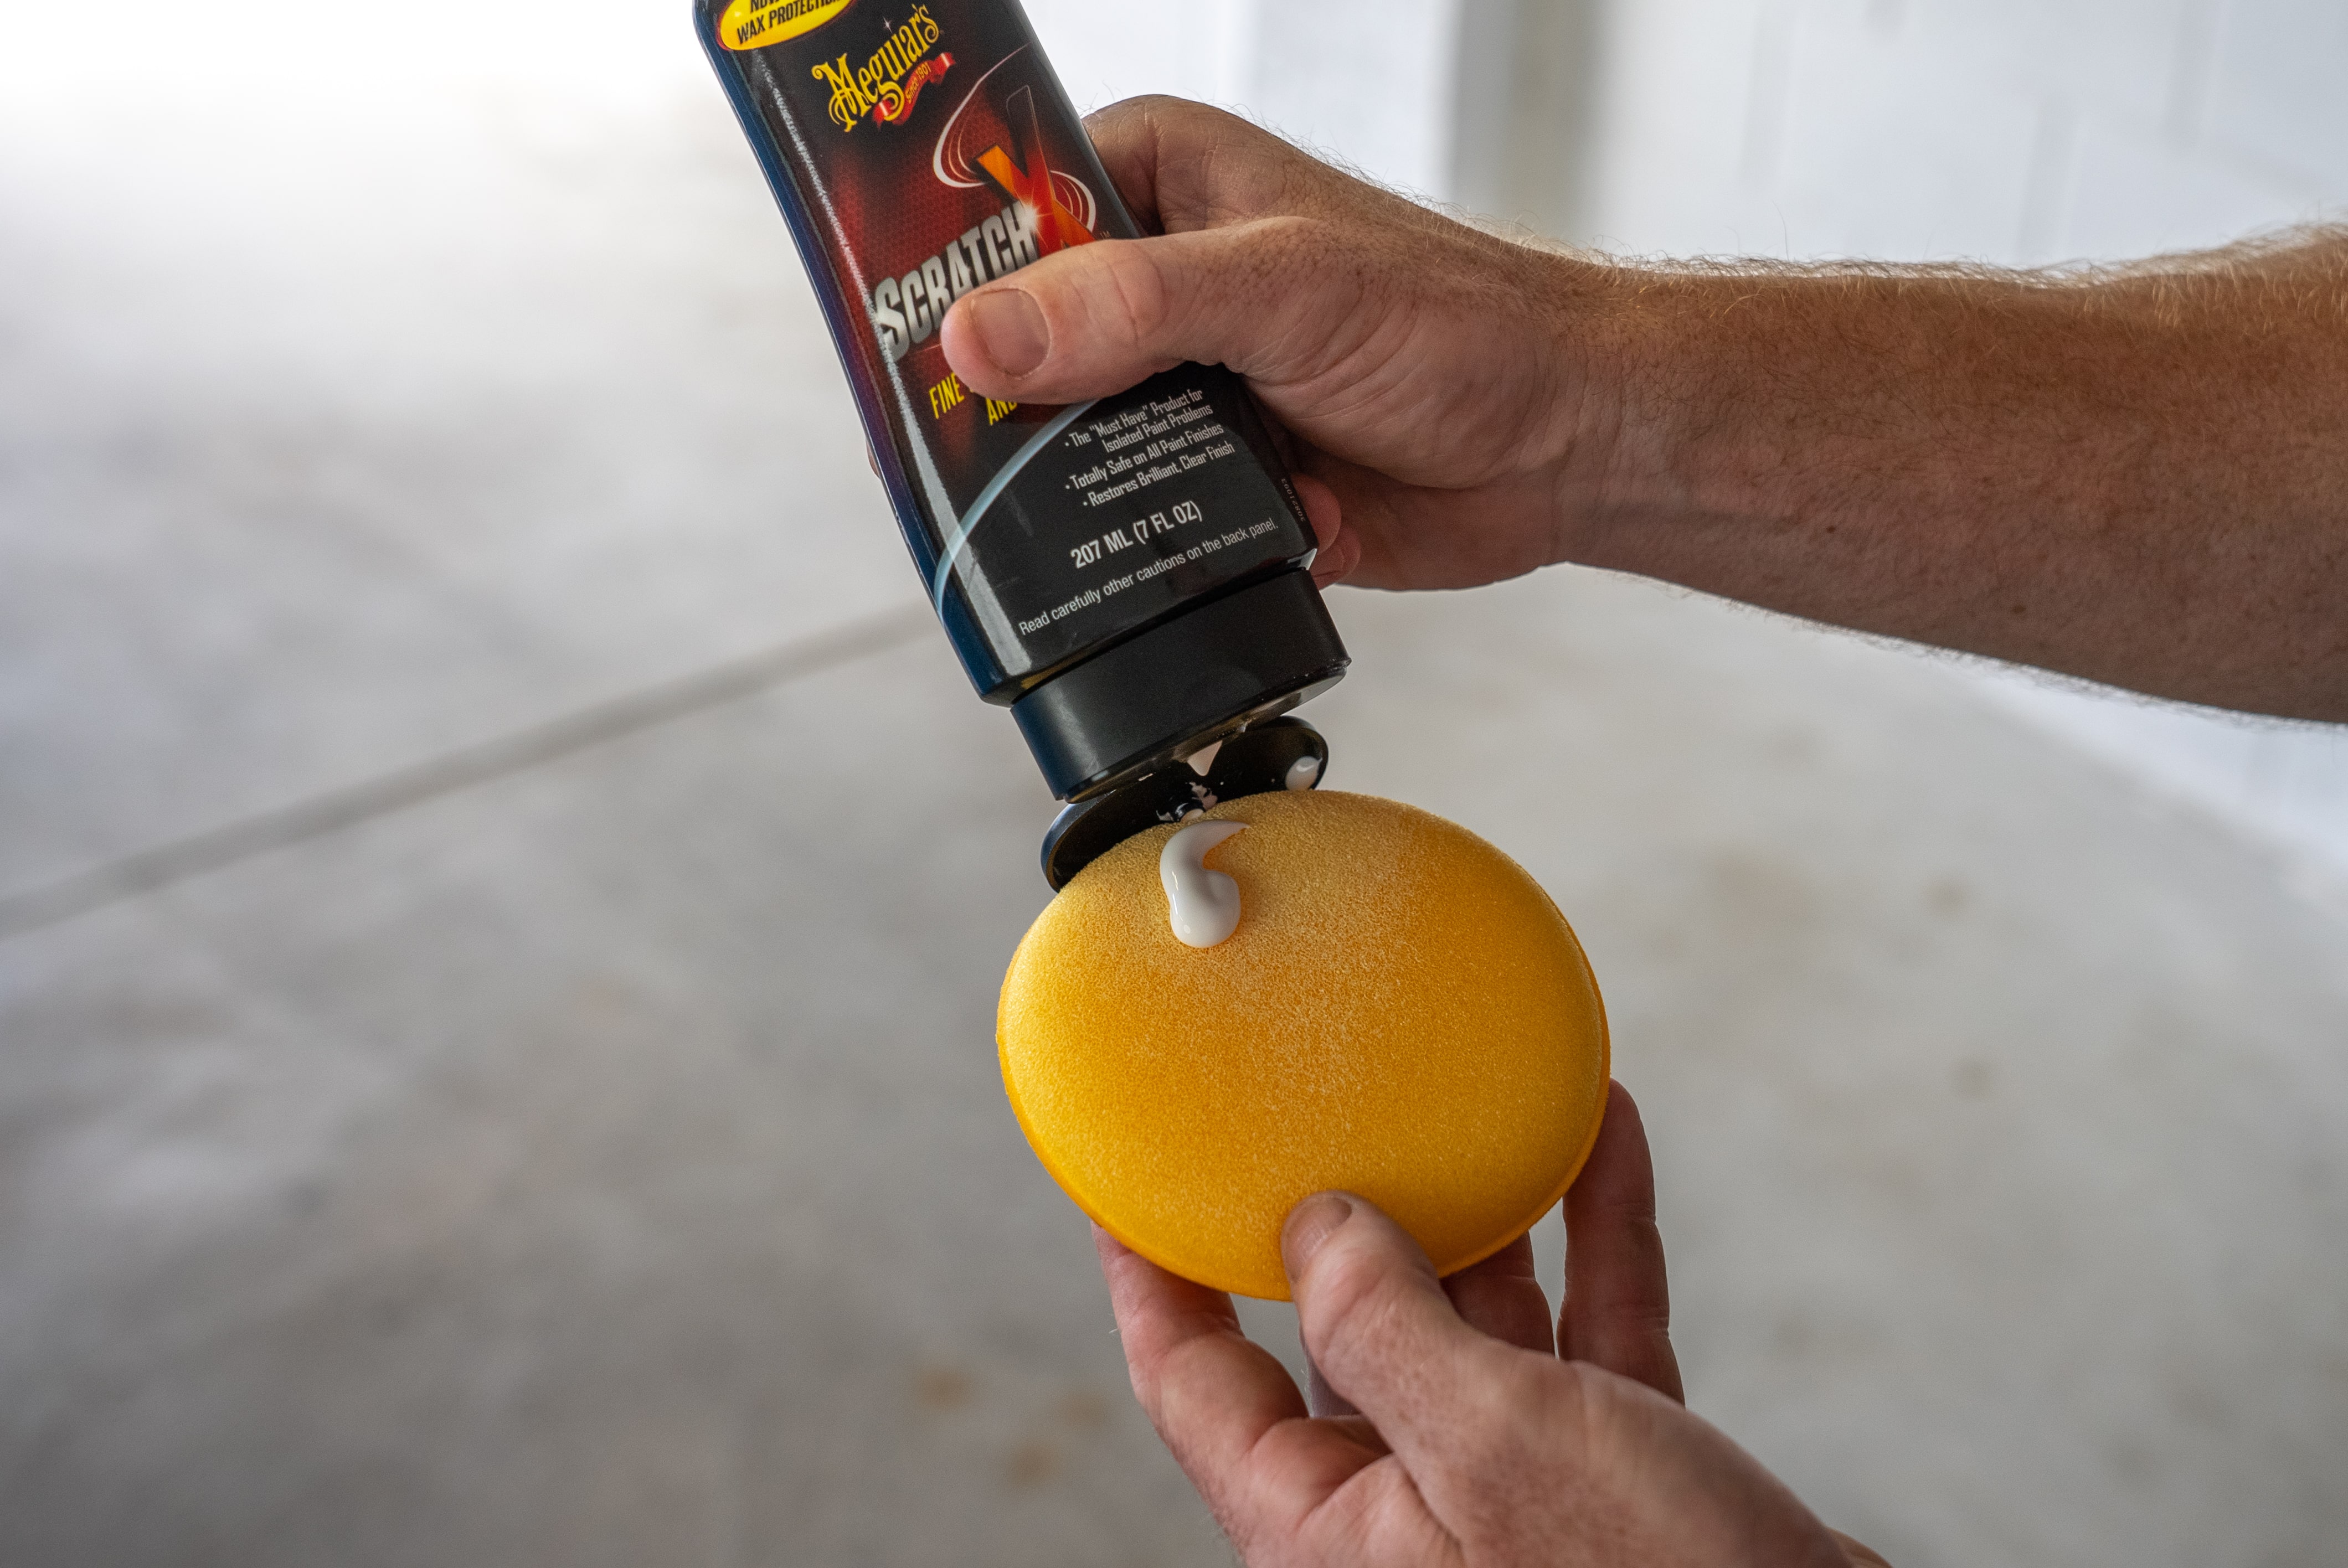
Spot the first scratch and dab some scratch remover onto a buffing pad. Using circular motions, work the pad over the scratch. Apply moderate pressure—this isn’t dusting off a shelf, but it’s not heavy-duty sanding either.
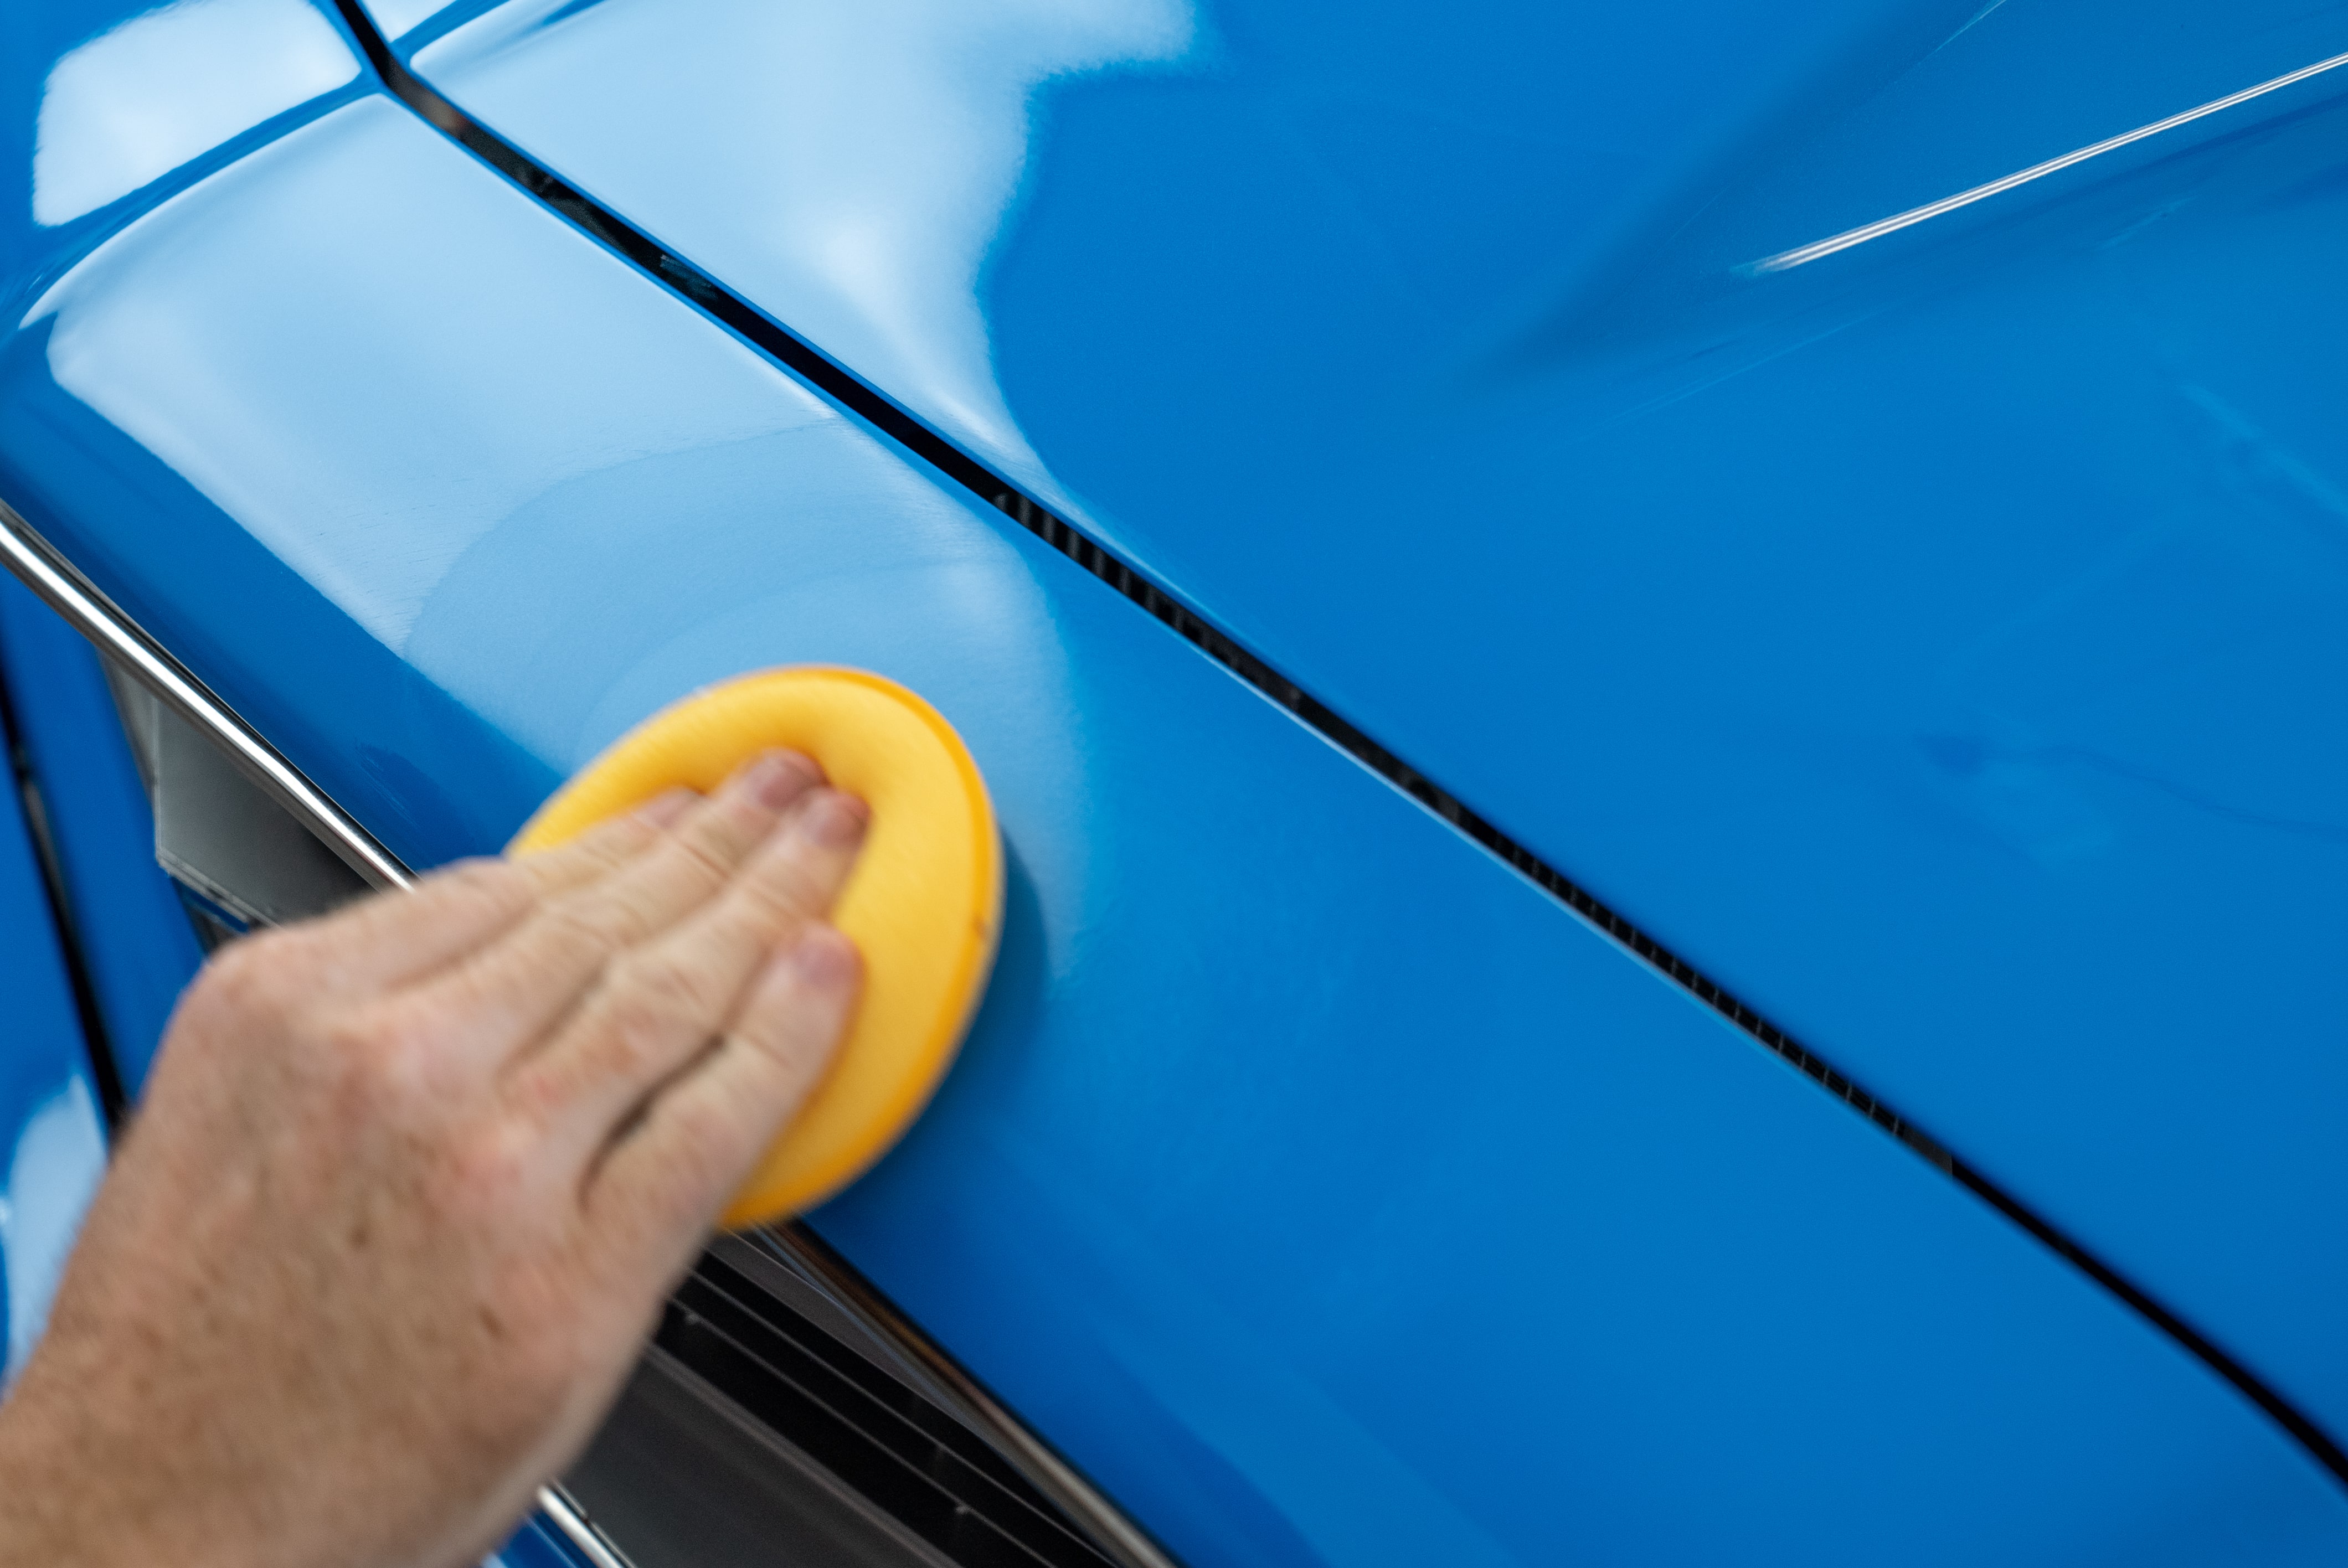
Take a breather every minute, add a squirt of detailer, then wipe the area with a microfiber towel. Keep at it until the scratch disappears. Once it’s gone, give a little self-congratulation.

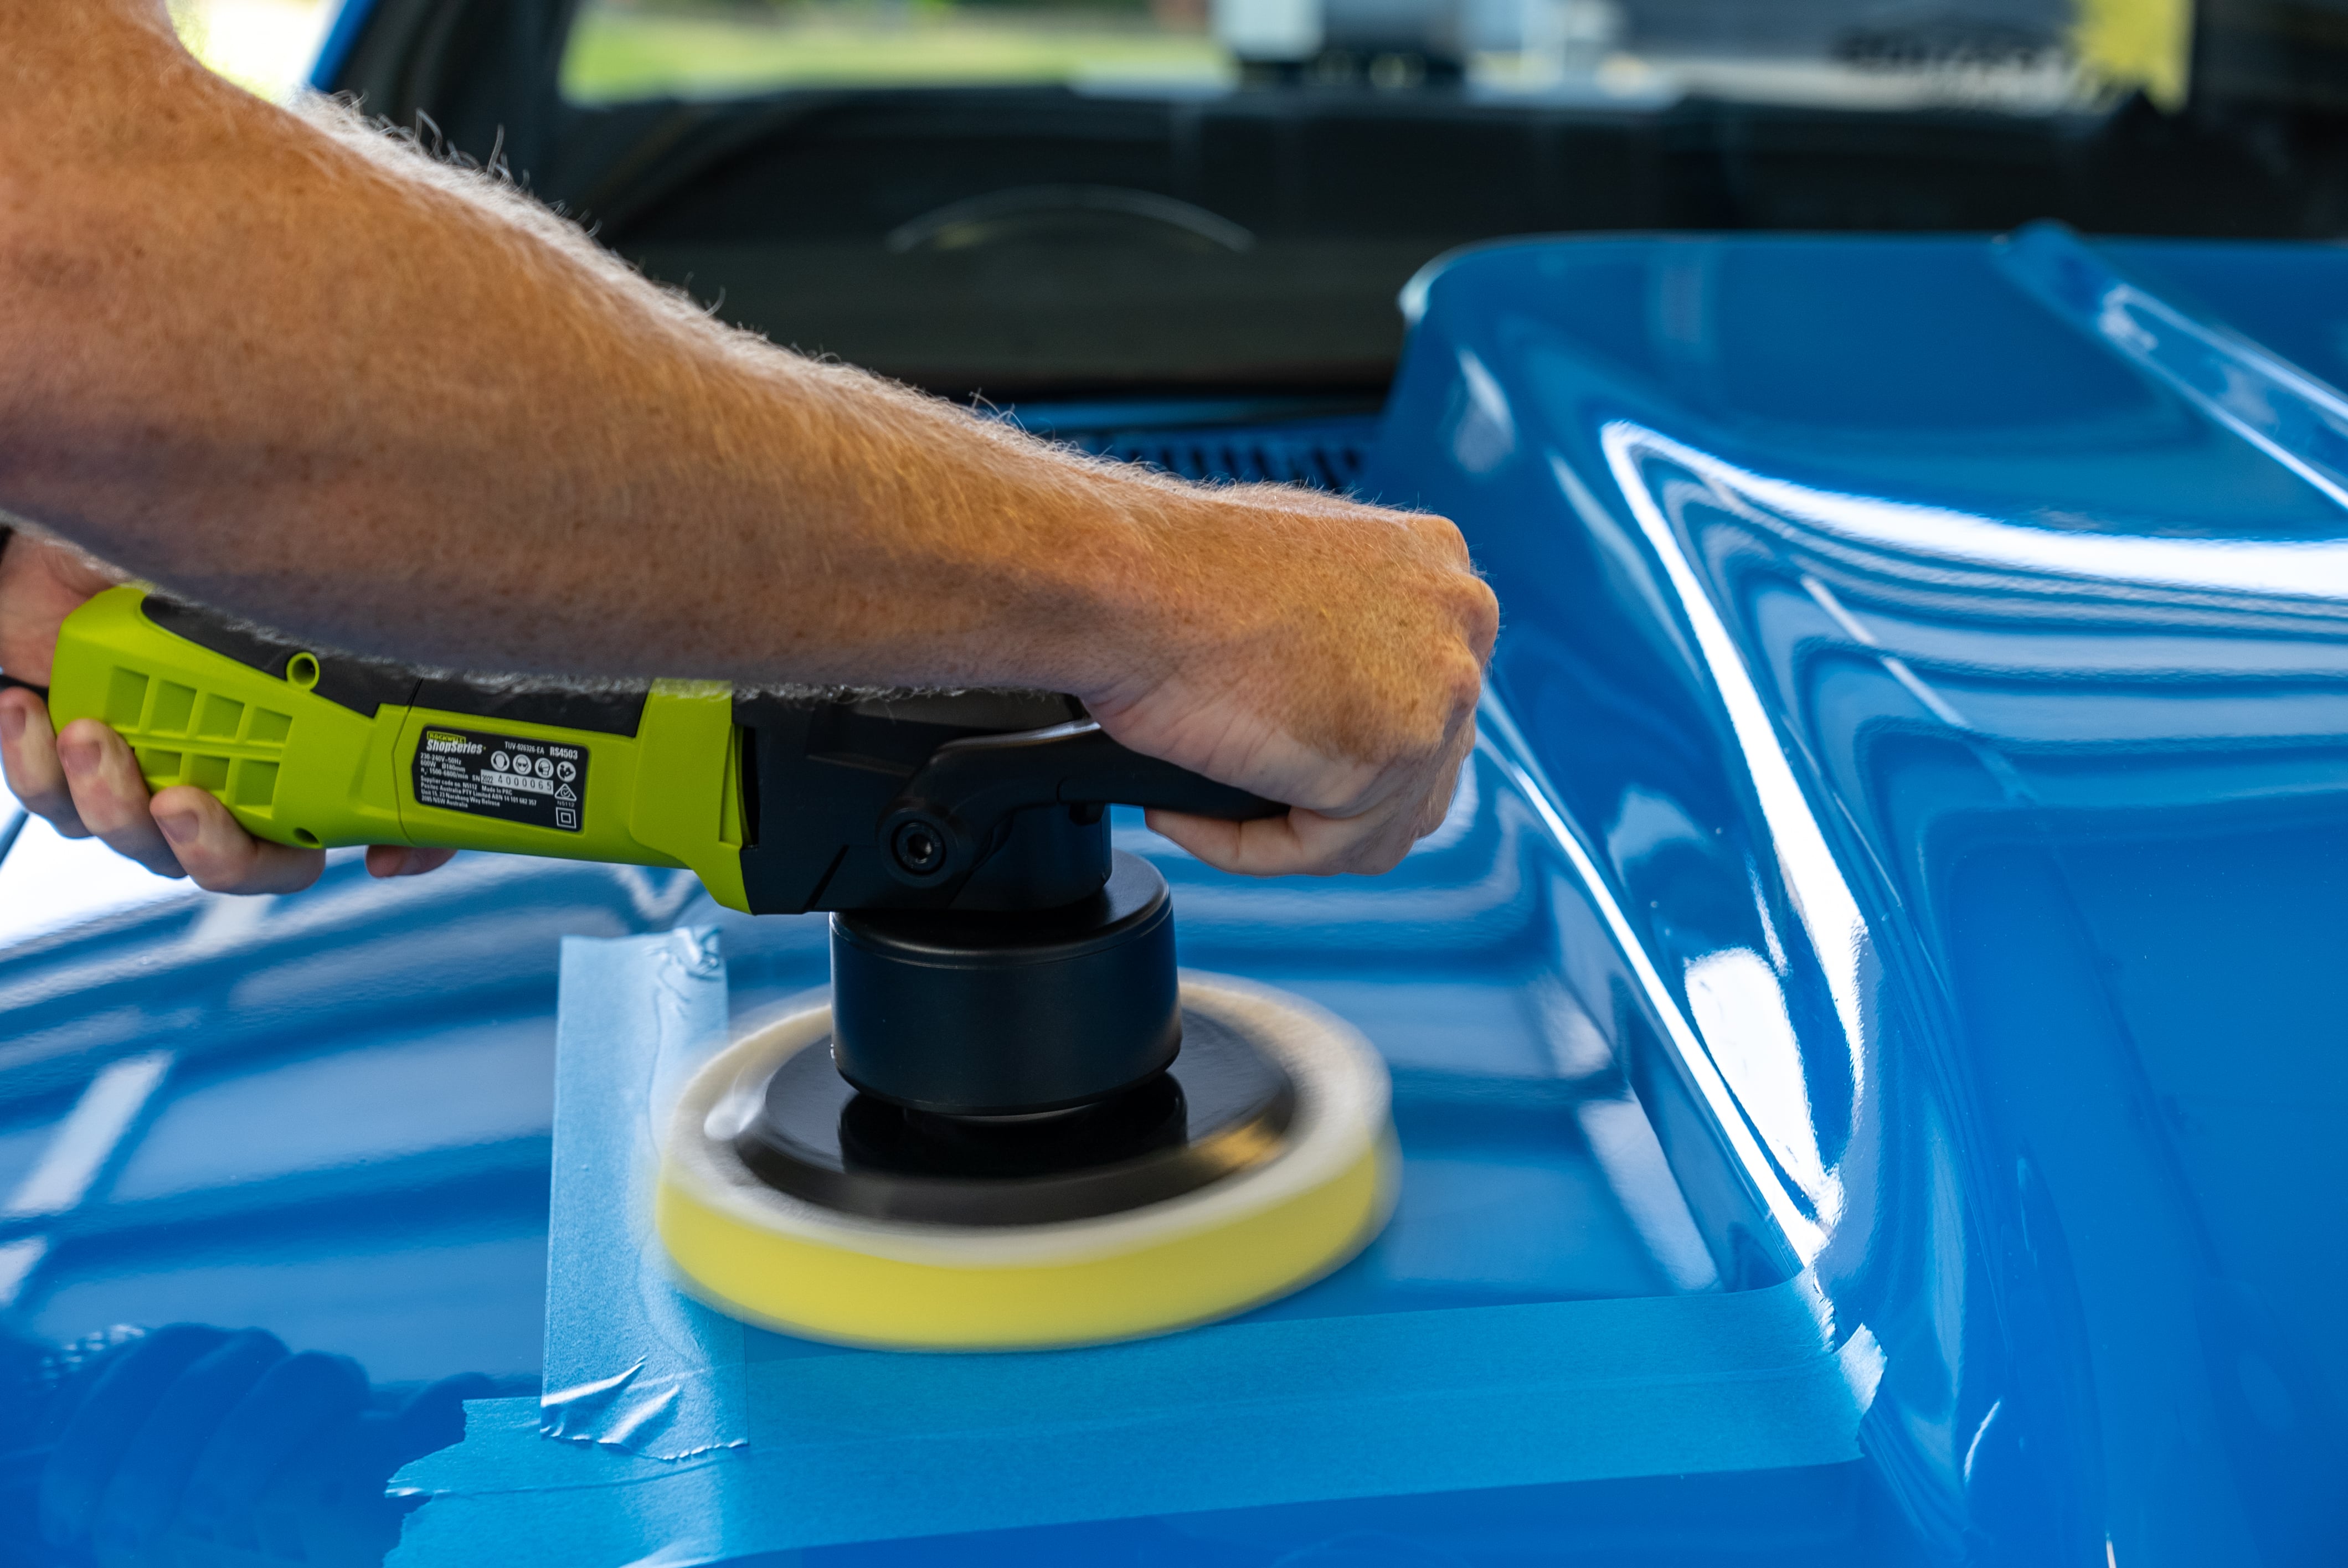
Step 3: Buff Out Swirl Marks
If feeling strong, the same hand buffing method works here. But since this involves most of the car, it’s smarter to grab an electric buffer.
Avoid rotary buffers if new to this game; they can cause more harm than good. Stick with a random orbital buffer instead.
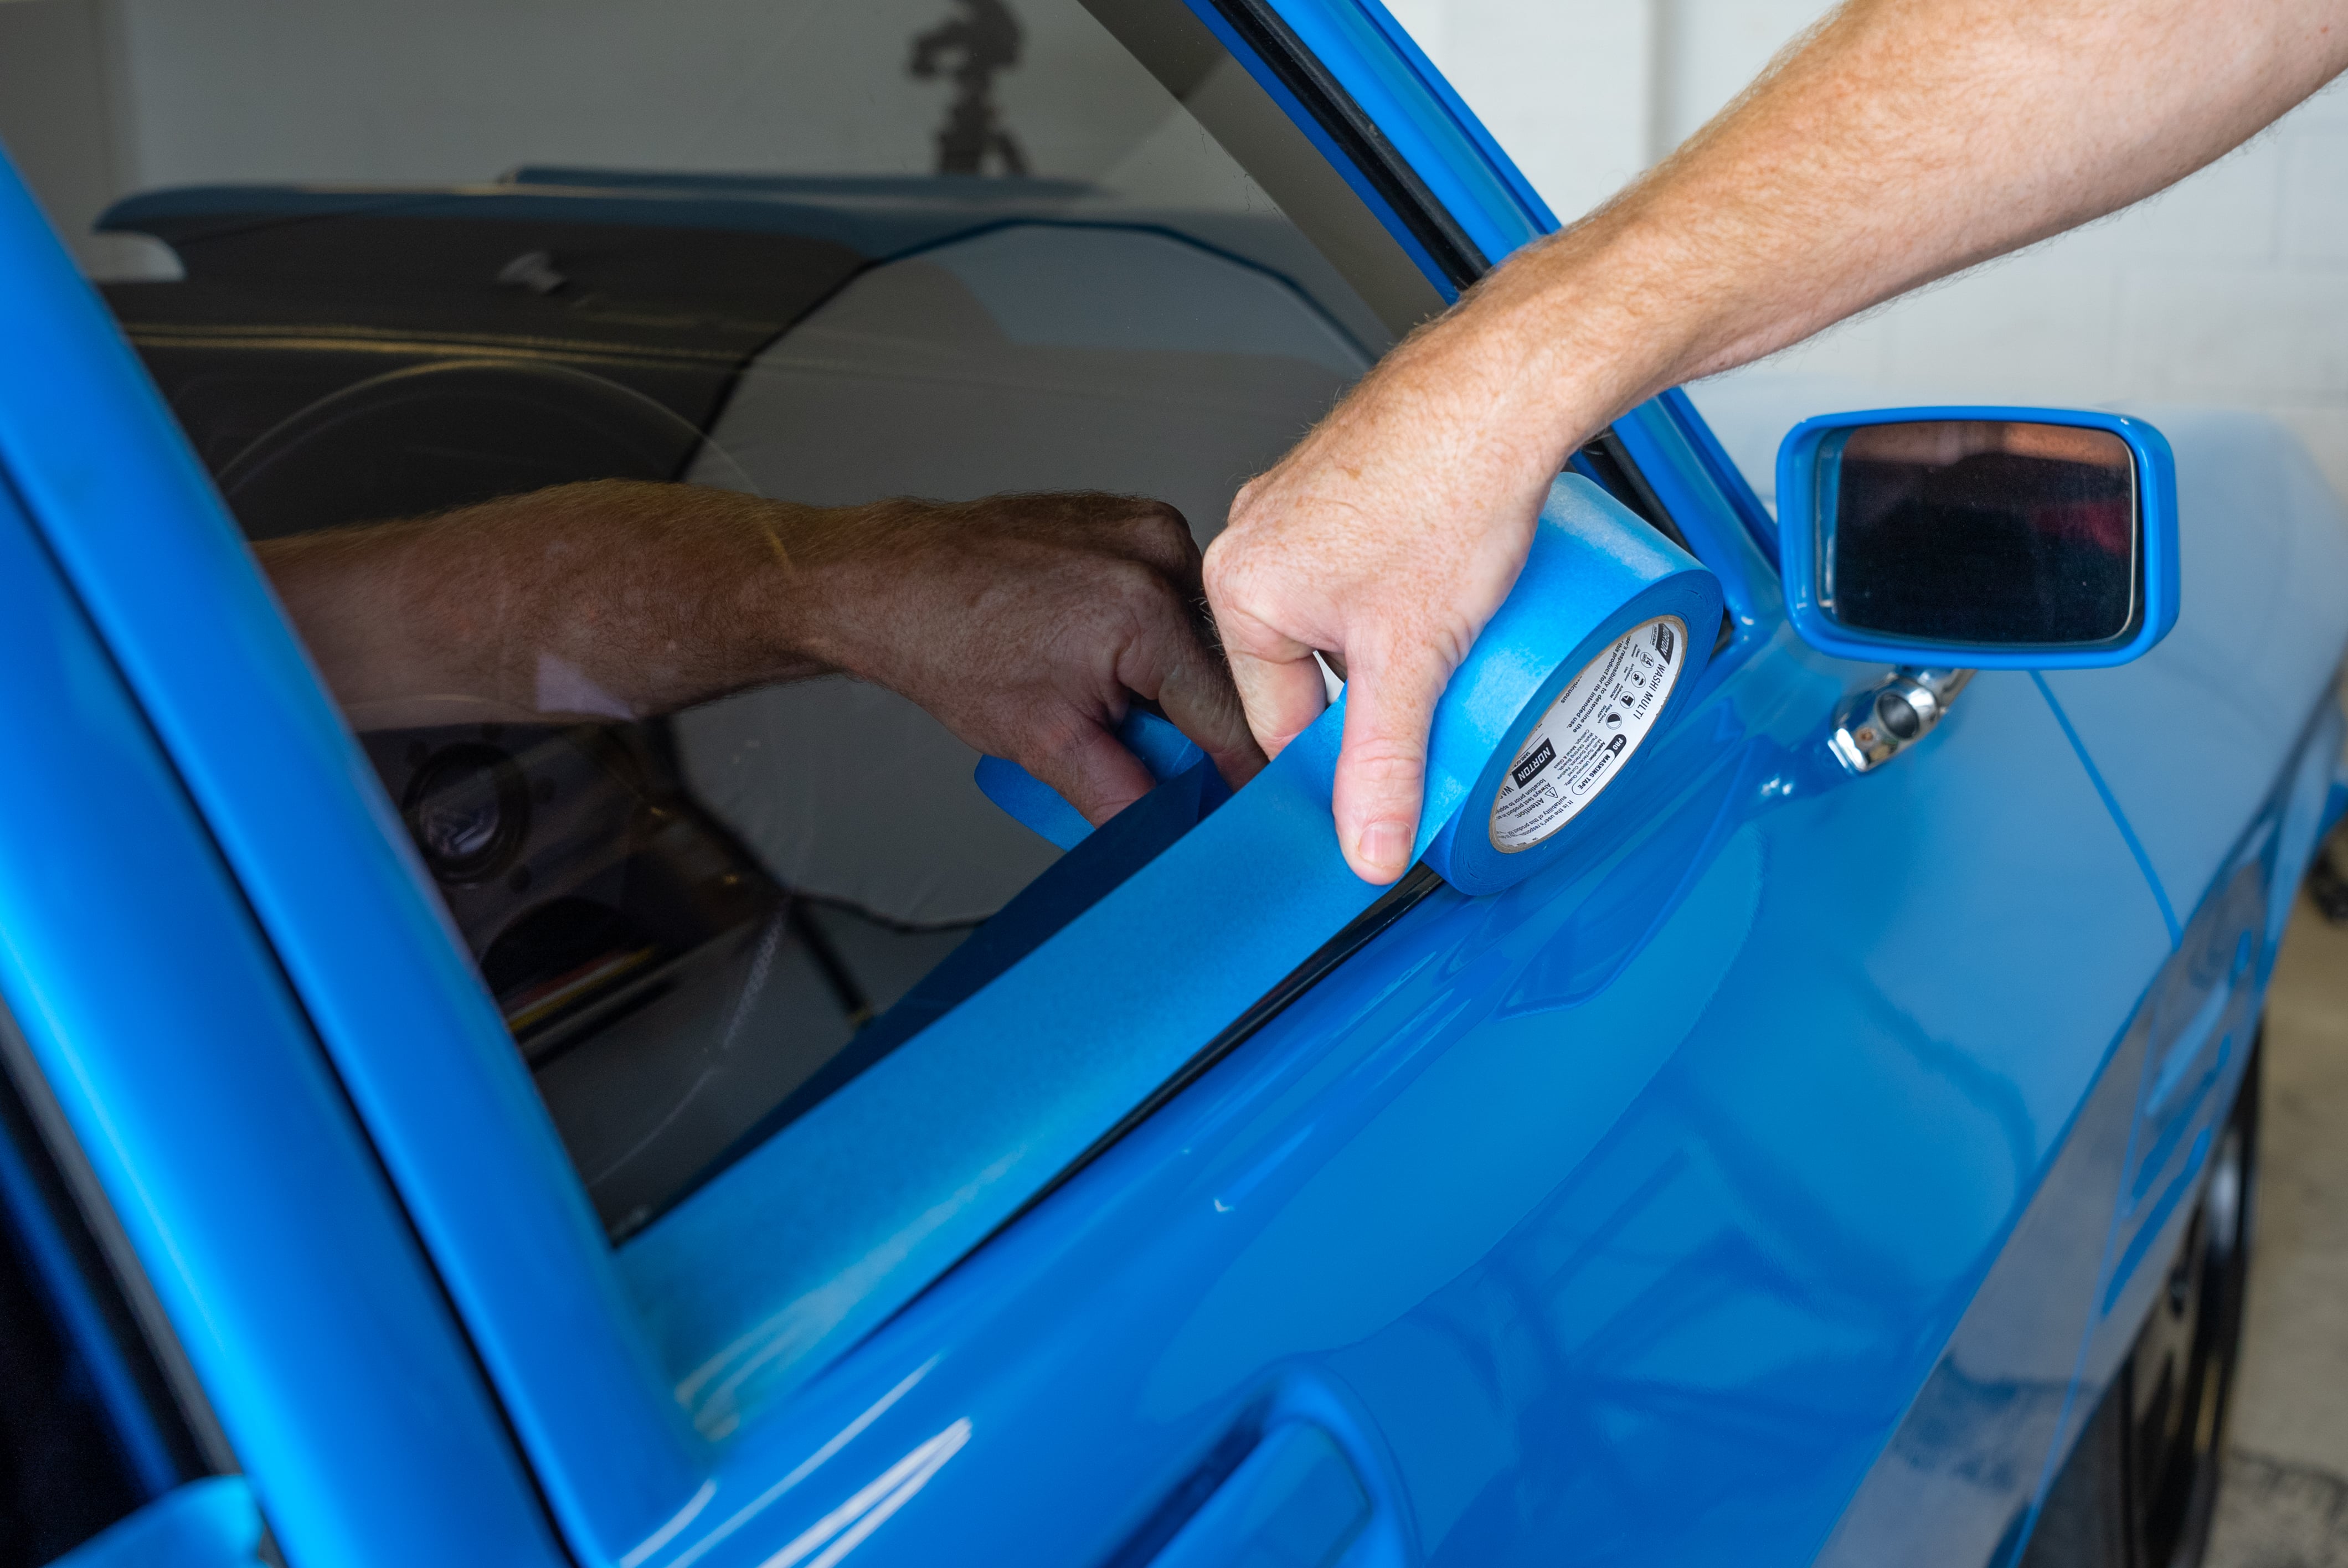
Choose a panel and mask off any plastic, rubber, glass, or unpainted spots.
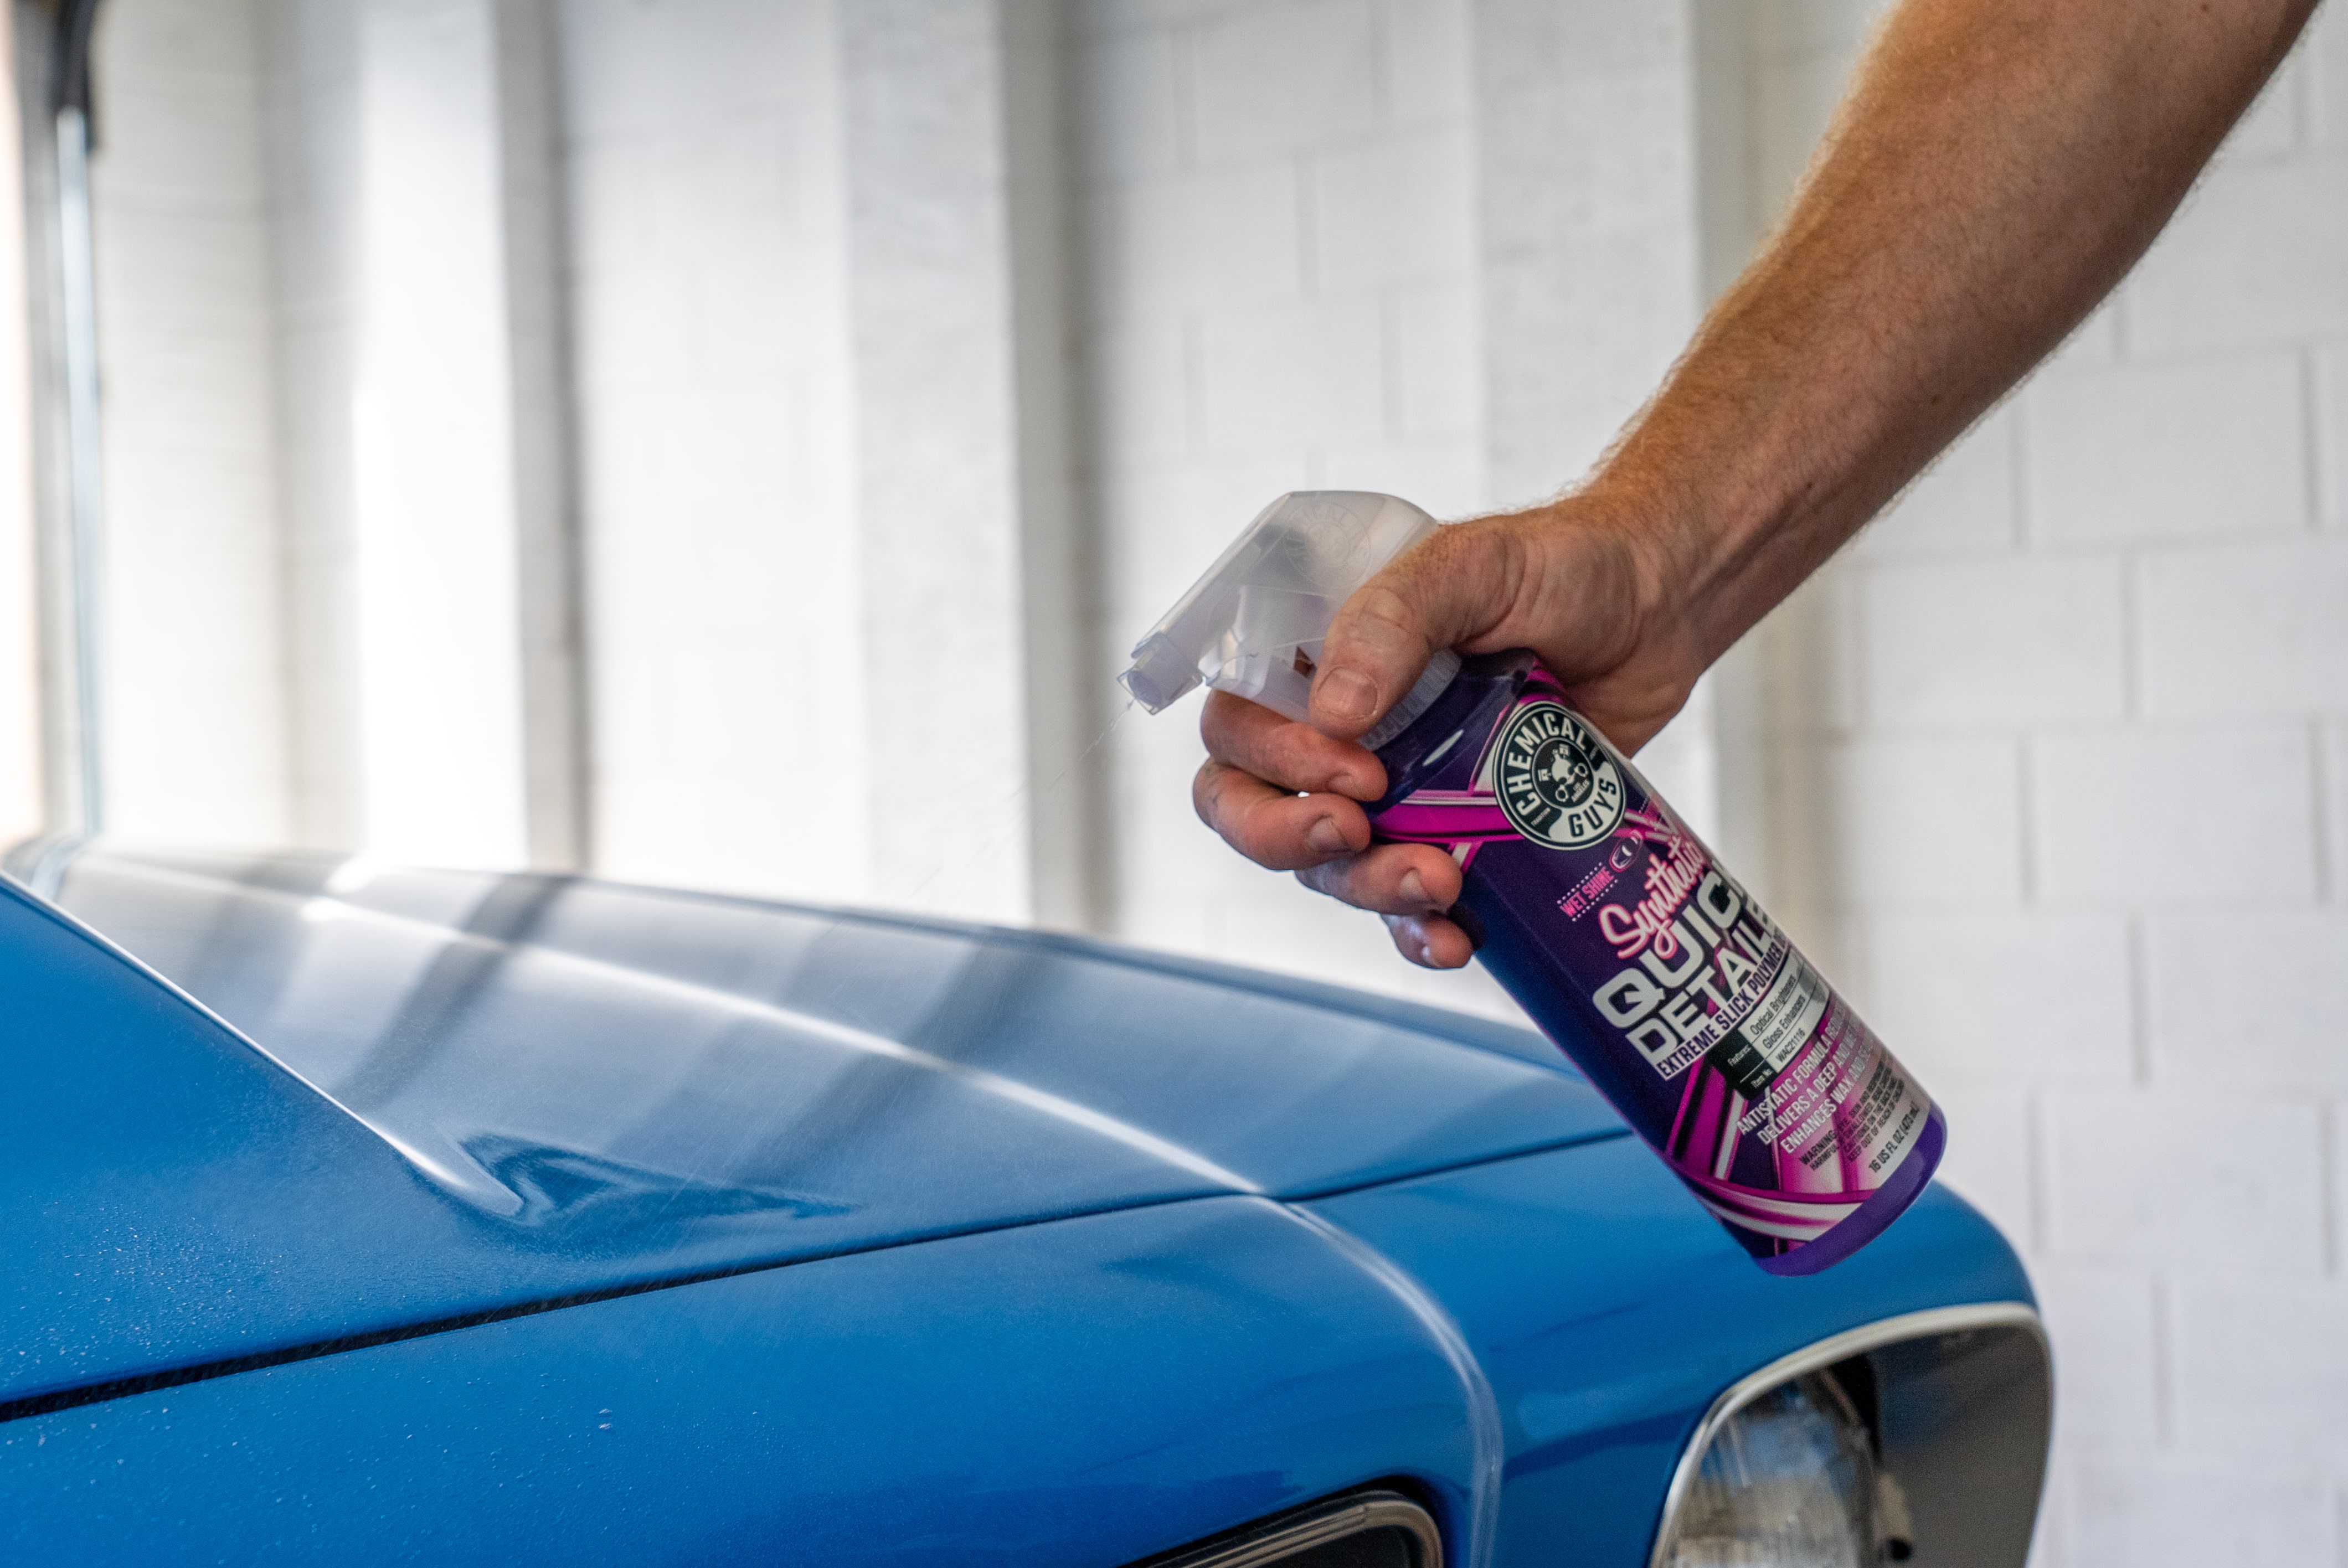
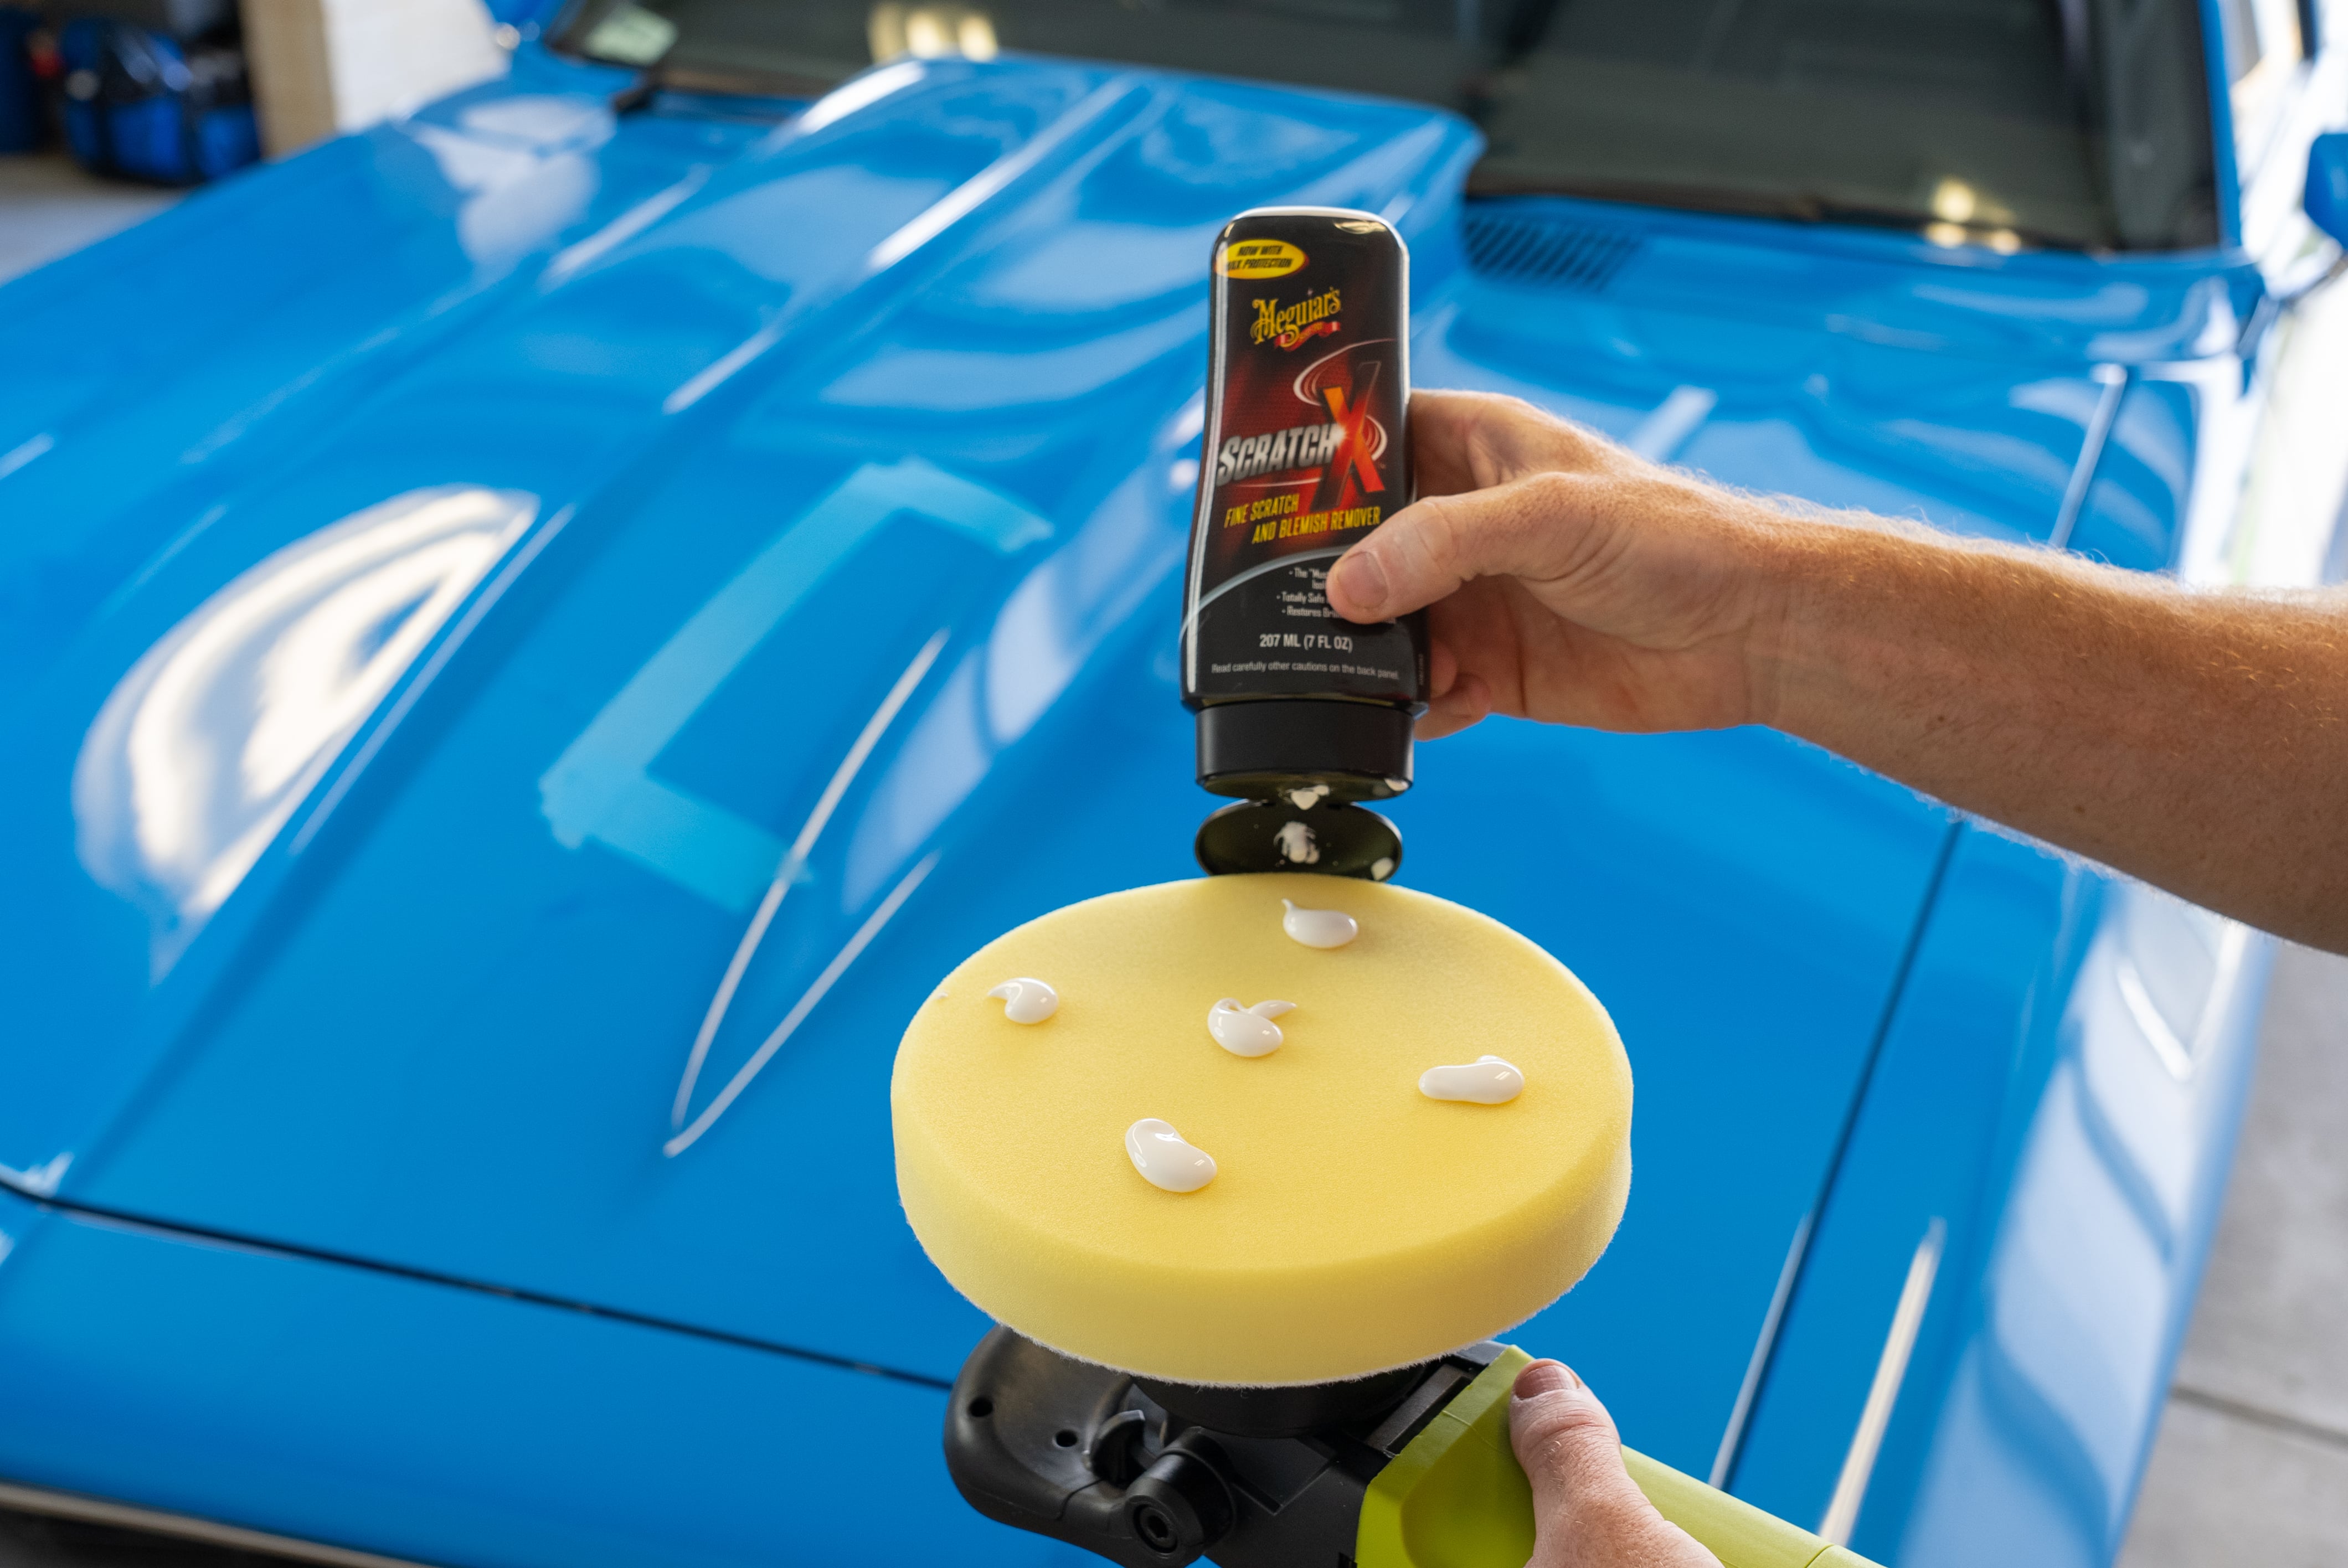
Put a few dabs of scratch remover on the buffing pad, then spray some detailer to keep things slick and avoid burning through the clear coat.
With the machine off, dab the pad around the panel to spread the product evenly. If wanting to keep it clean, wait until the pad touches the paint before turning on the buffer.
Move the buffer smoothly along the panel with light pressure. If the right amount of scratch remover is used, a thin, greasy layer should appear behind the pad as it moves.
Overlap each pass by about fifty percent until the entire area is done.
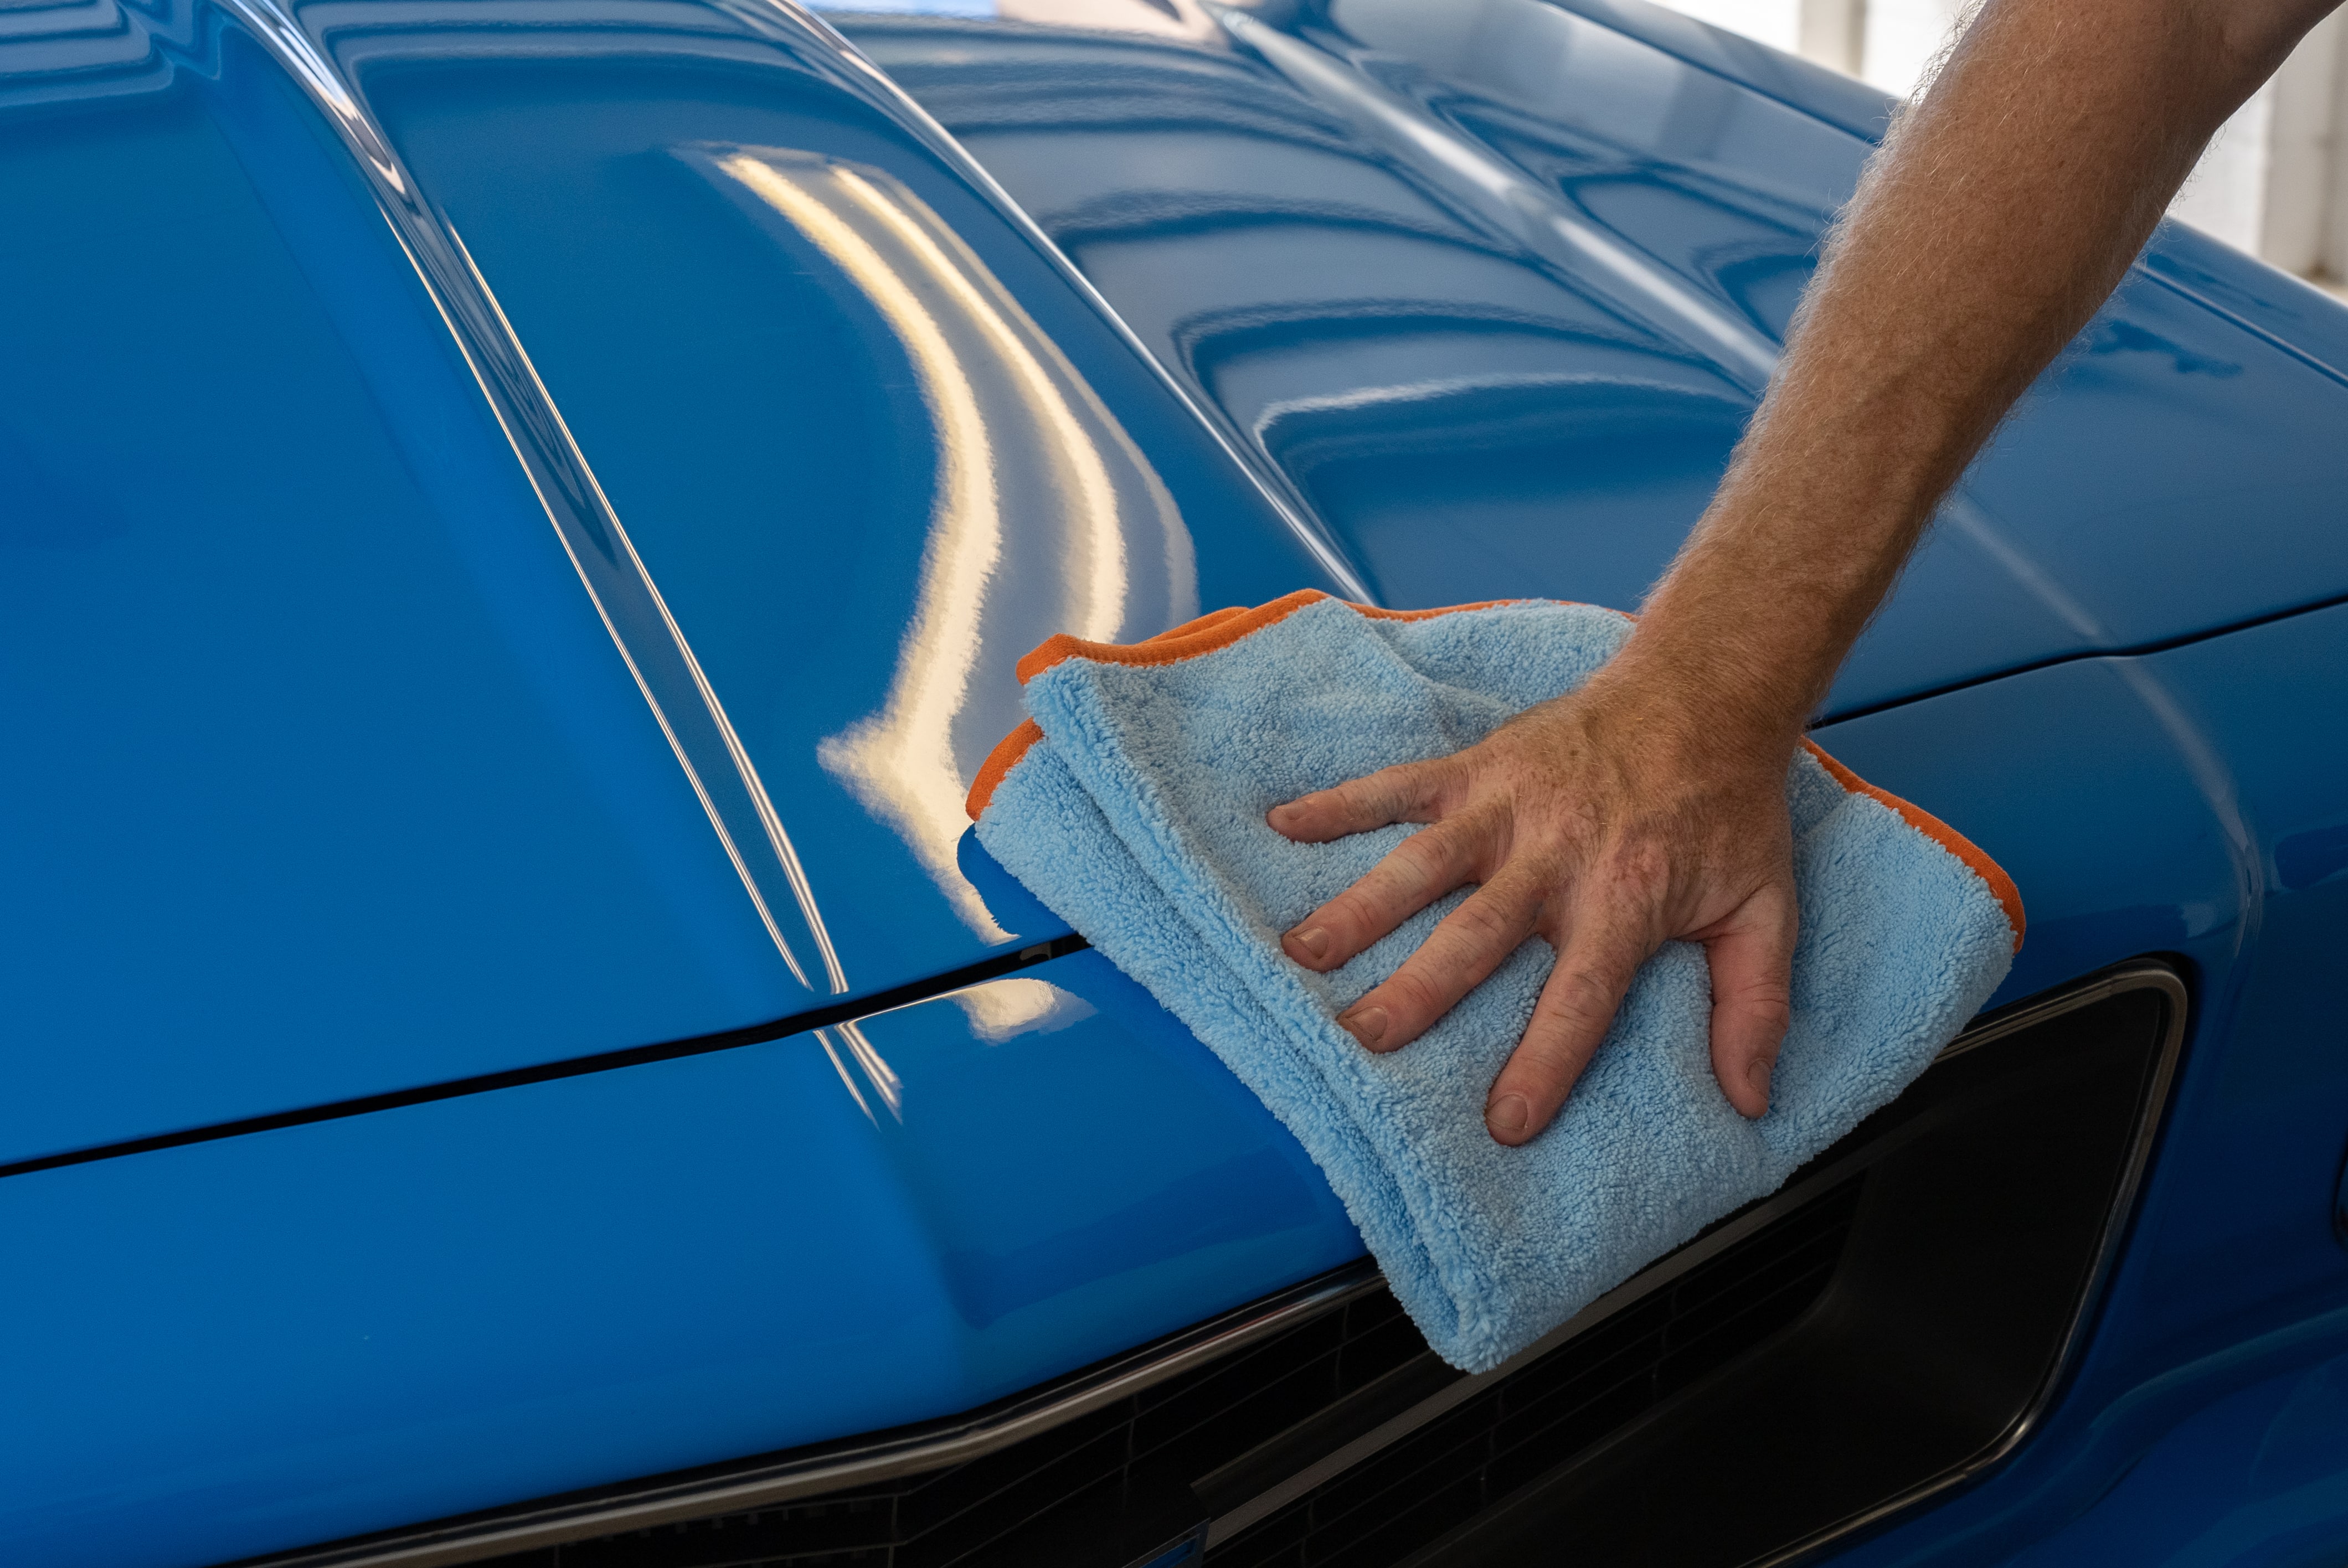
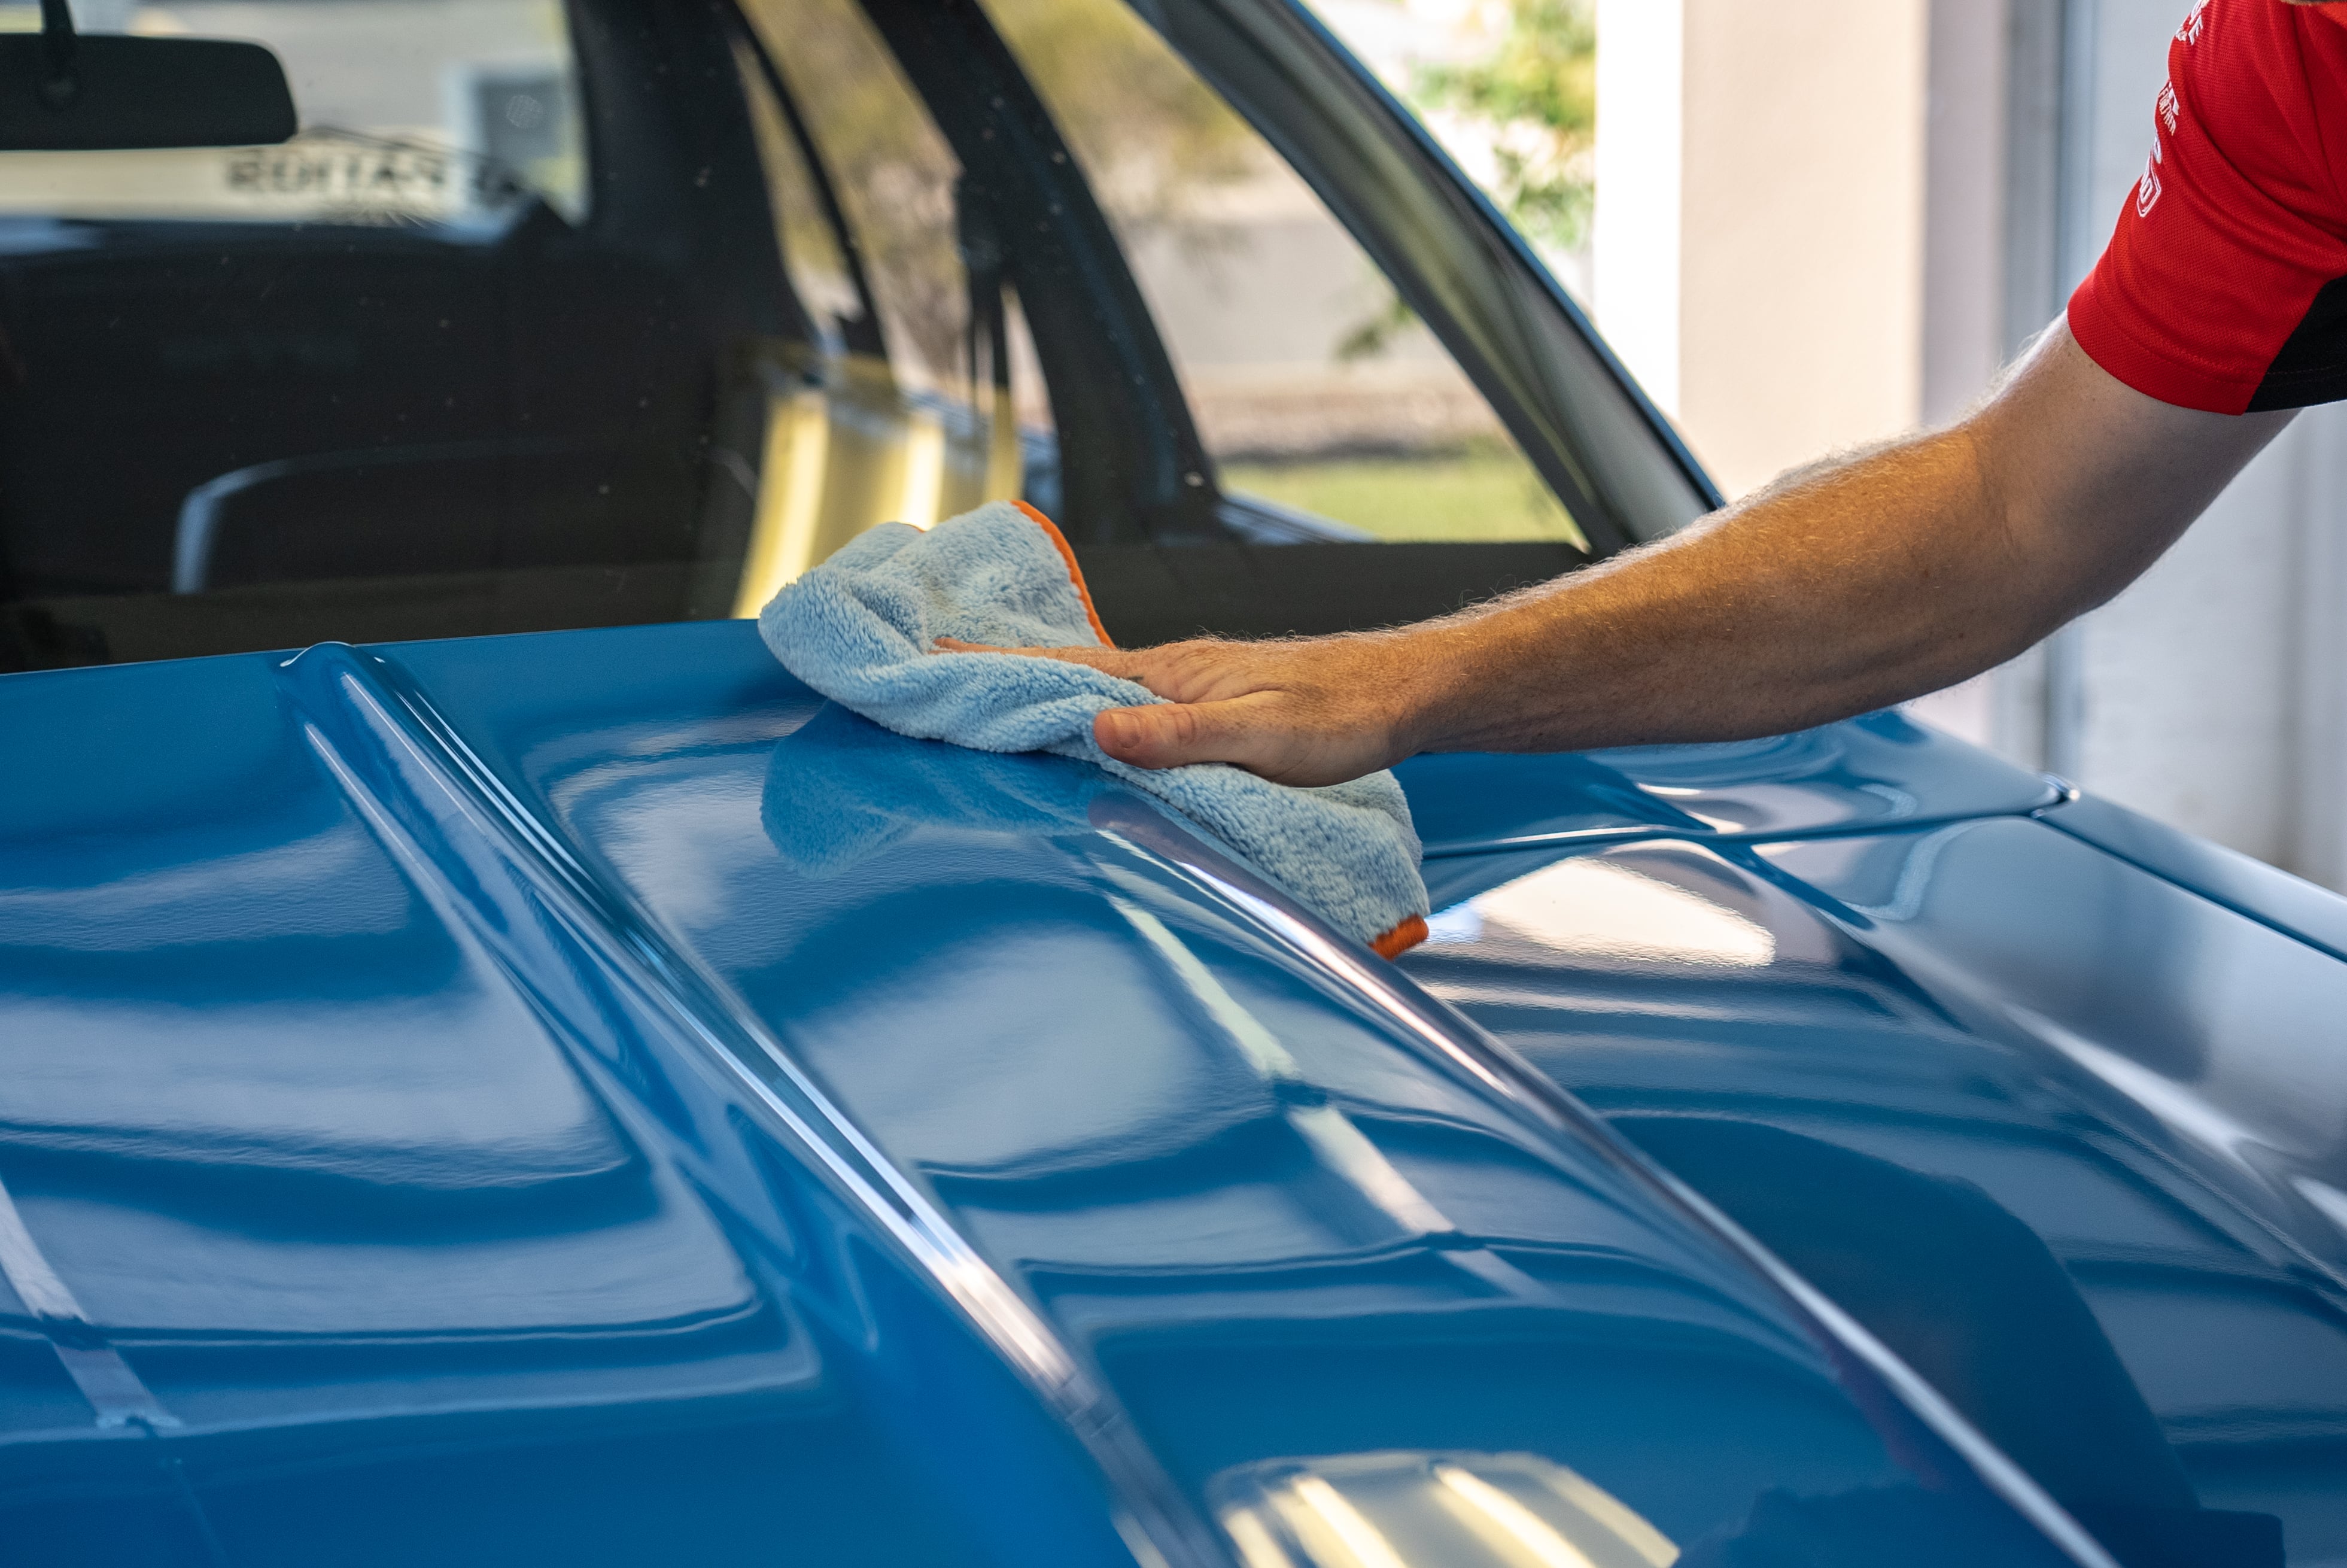
Wipe it down with a microfiber towel. If the swirl marks are still there, just repeat the previous steps. Once those marks are gone from that panel, it’s time to tackle the rest. No sugar-coating it—this part takes the longest. But hey, progress is happening!
Step 4: Protect the Paintwork
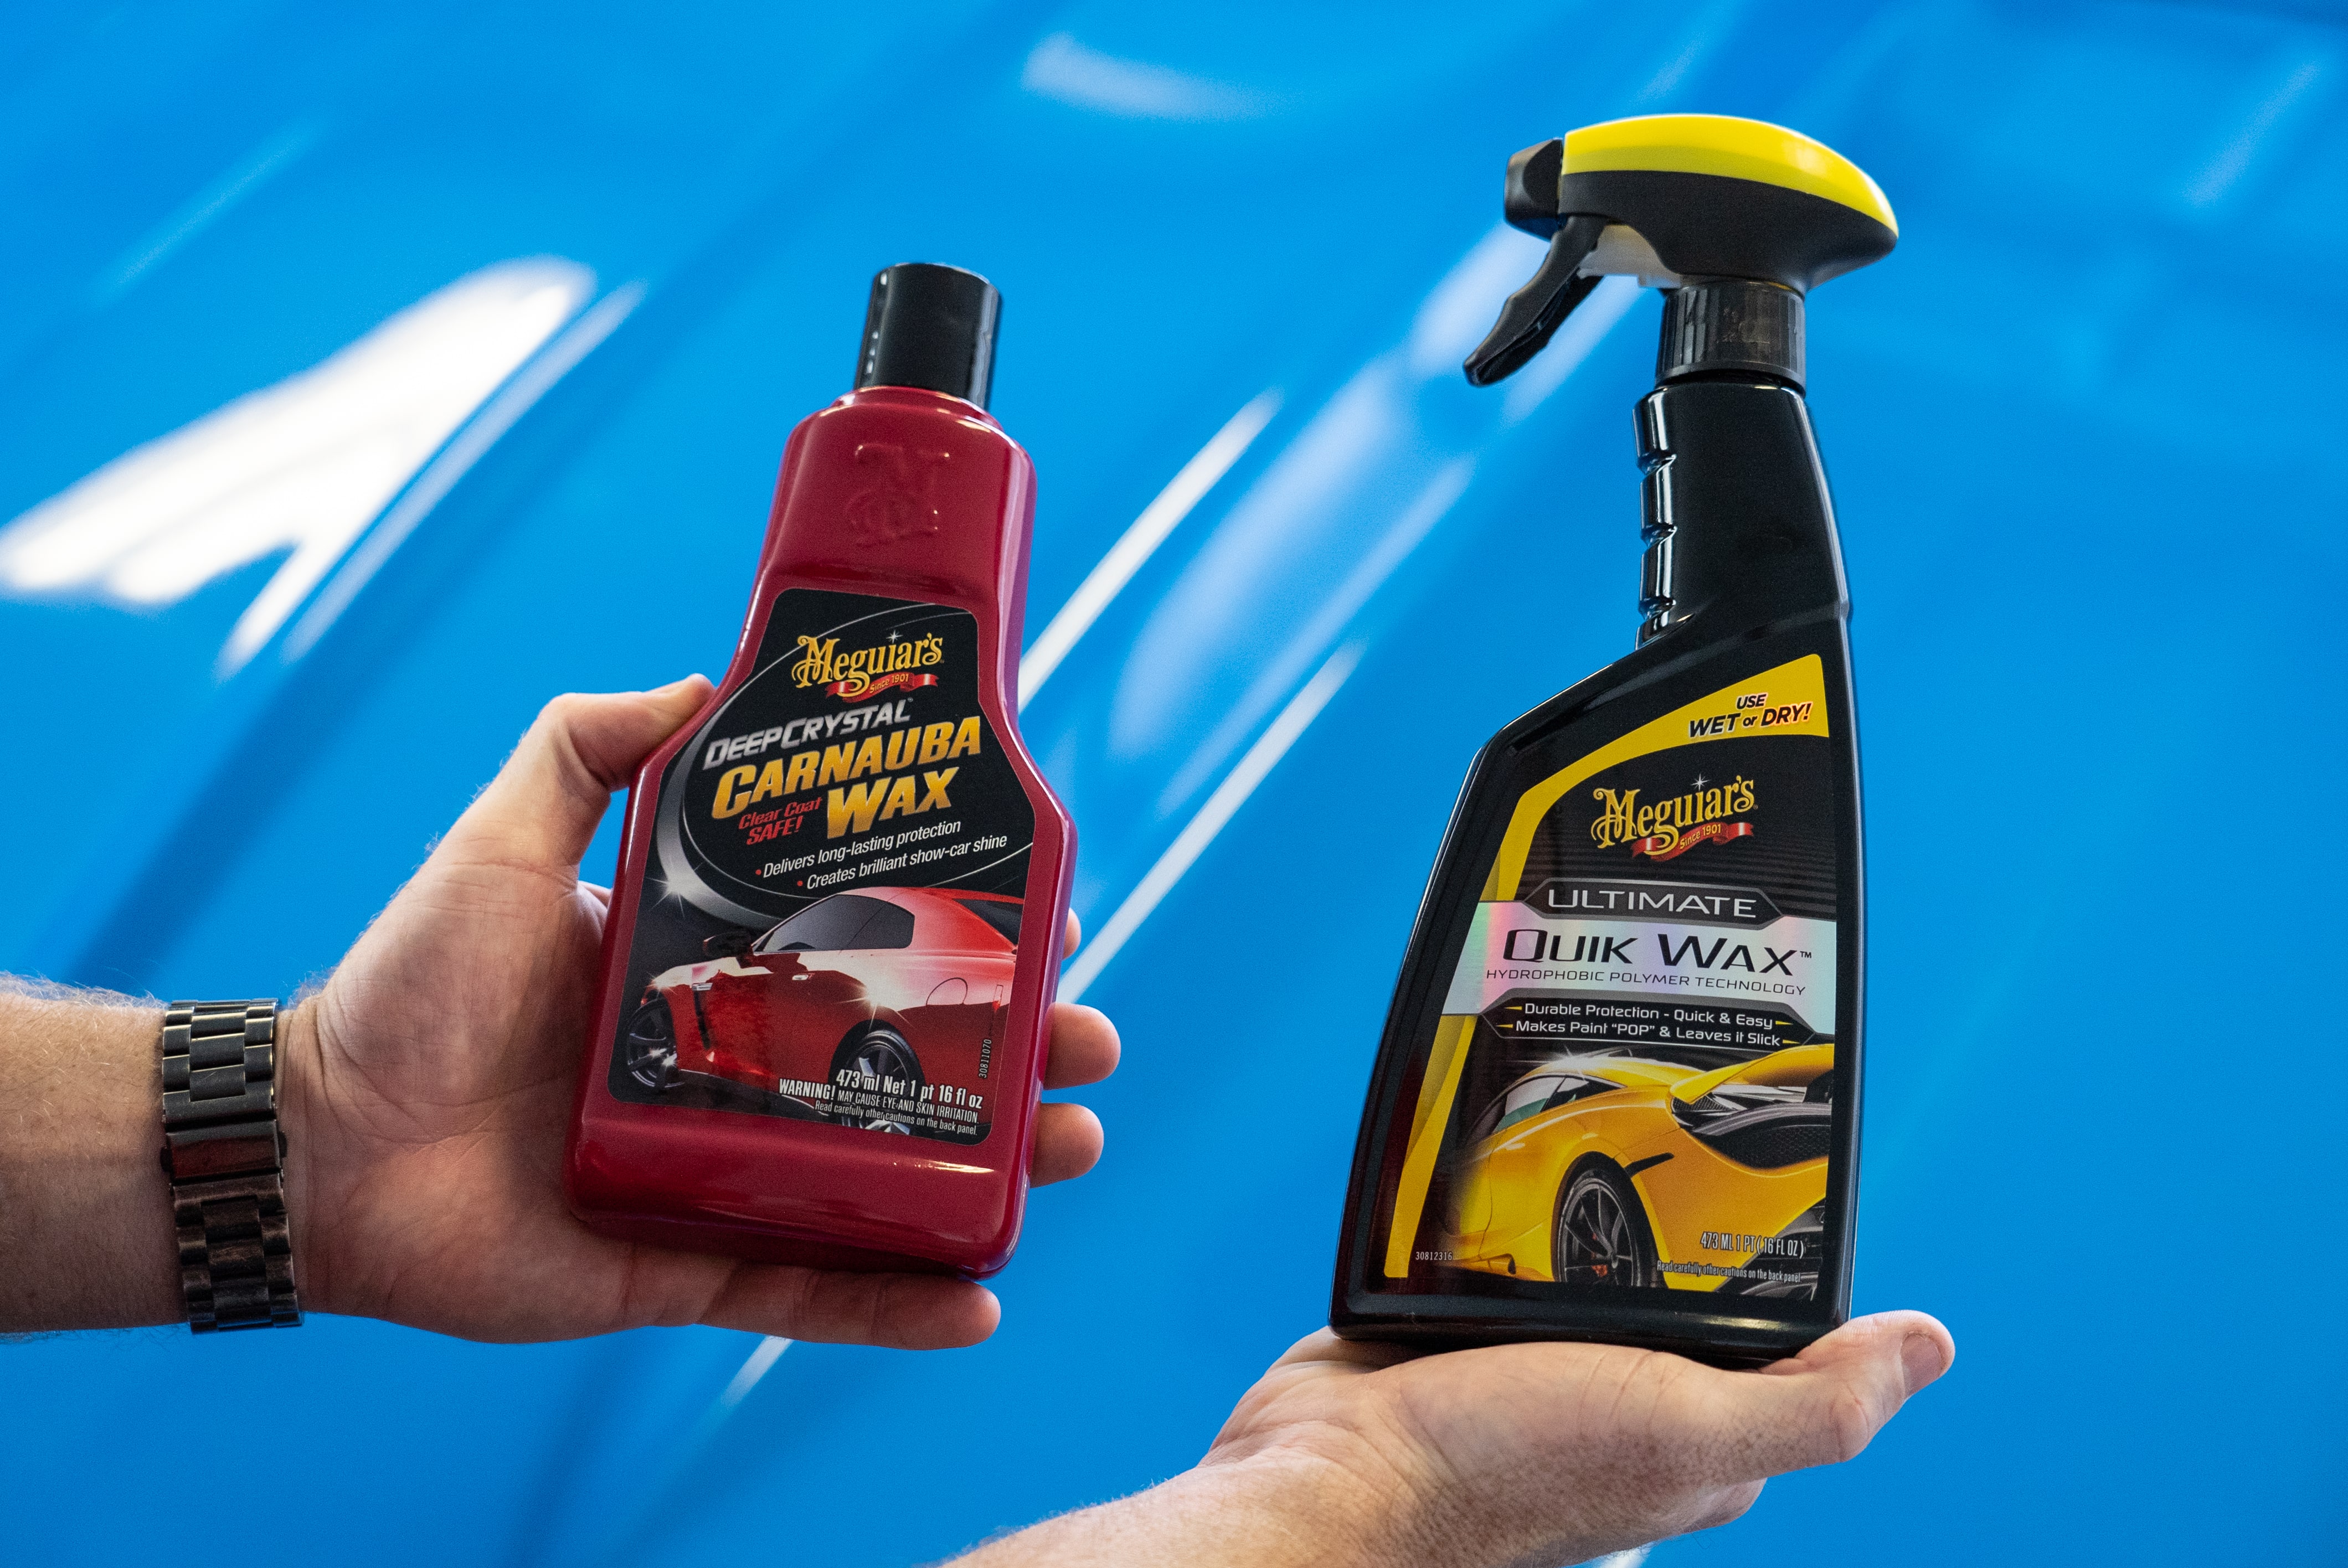
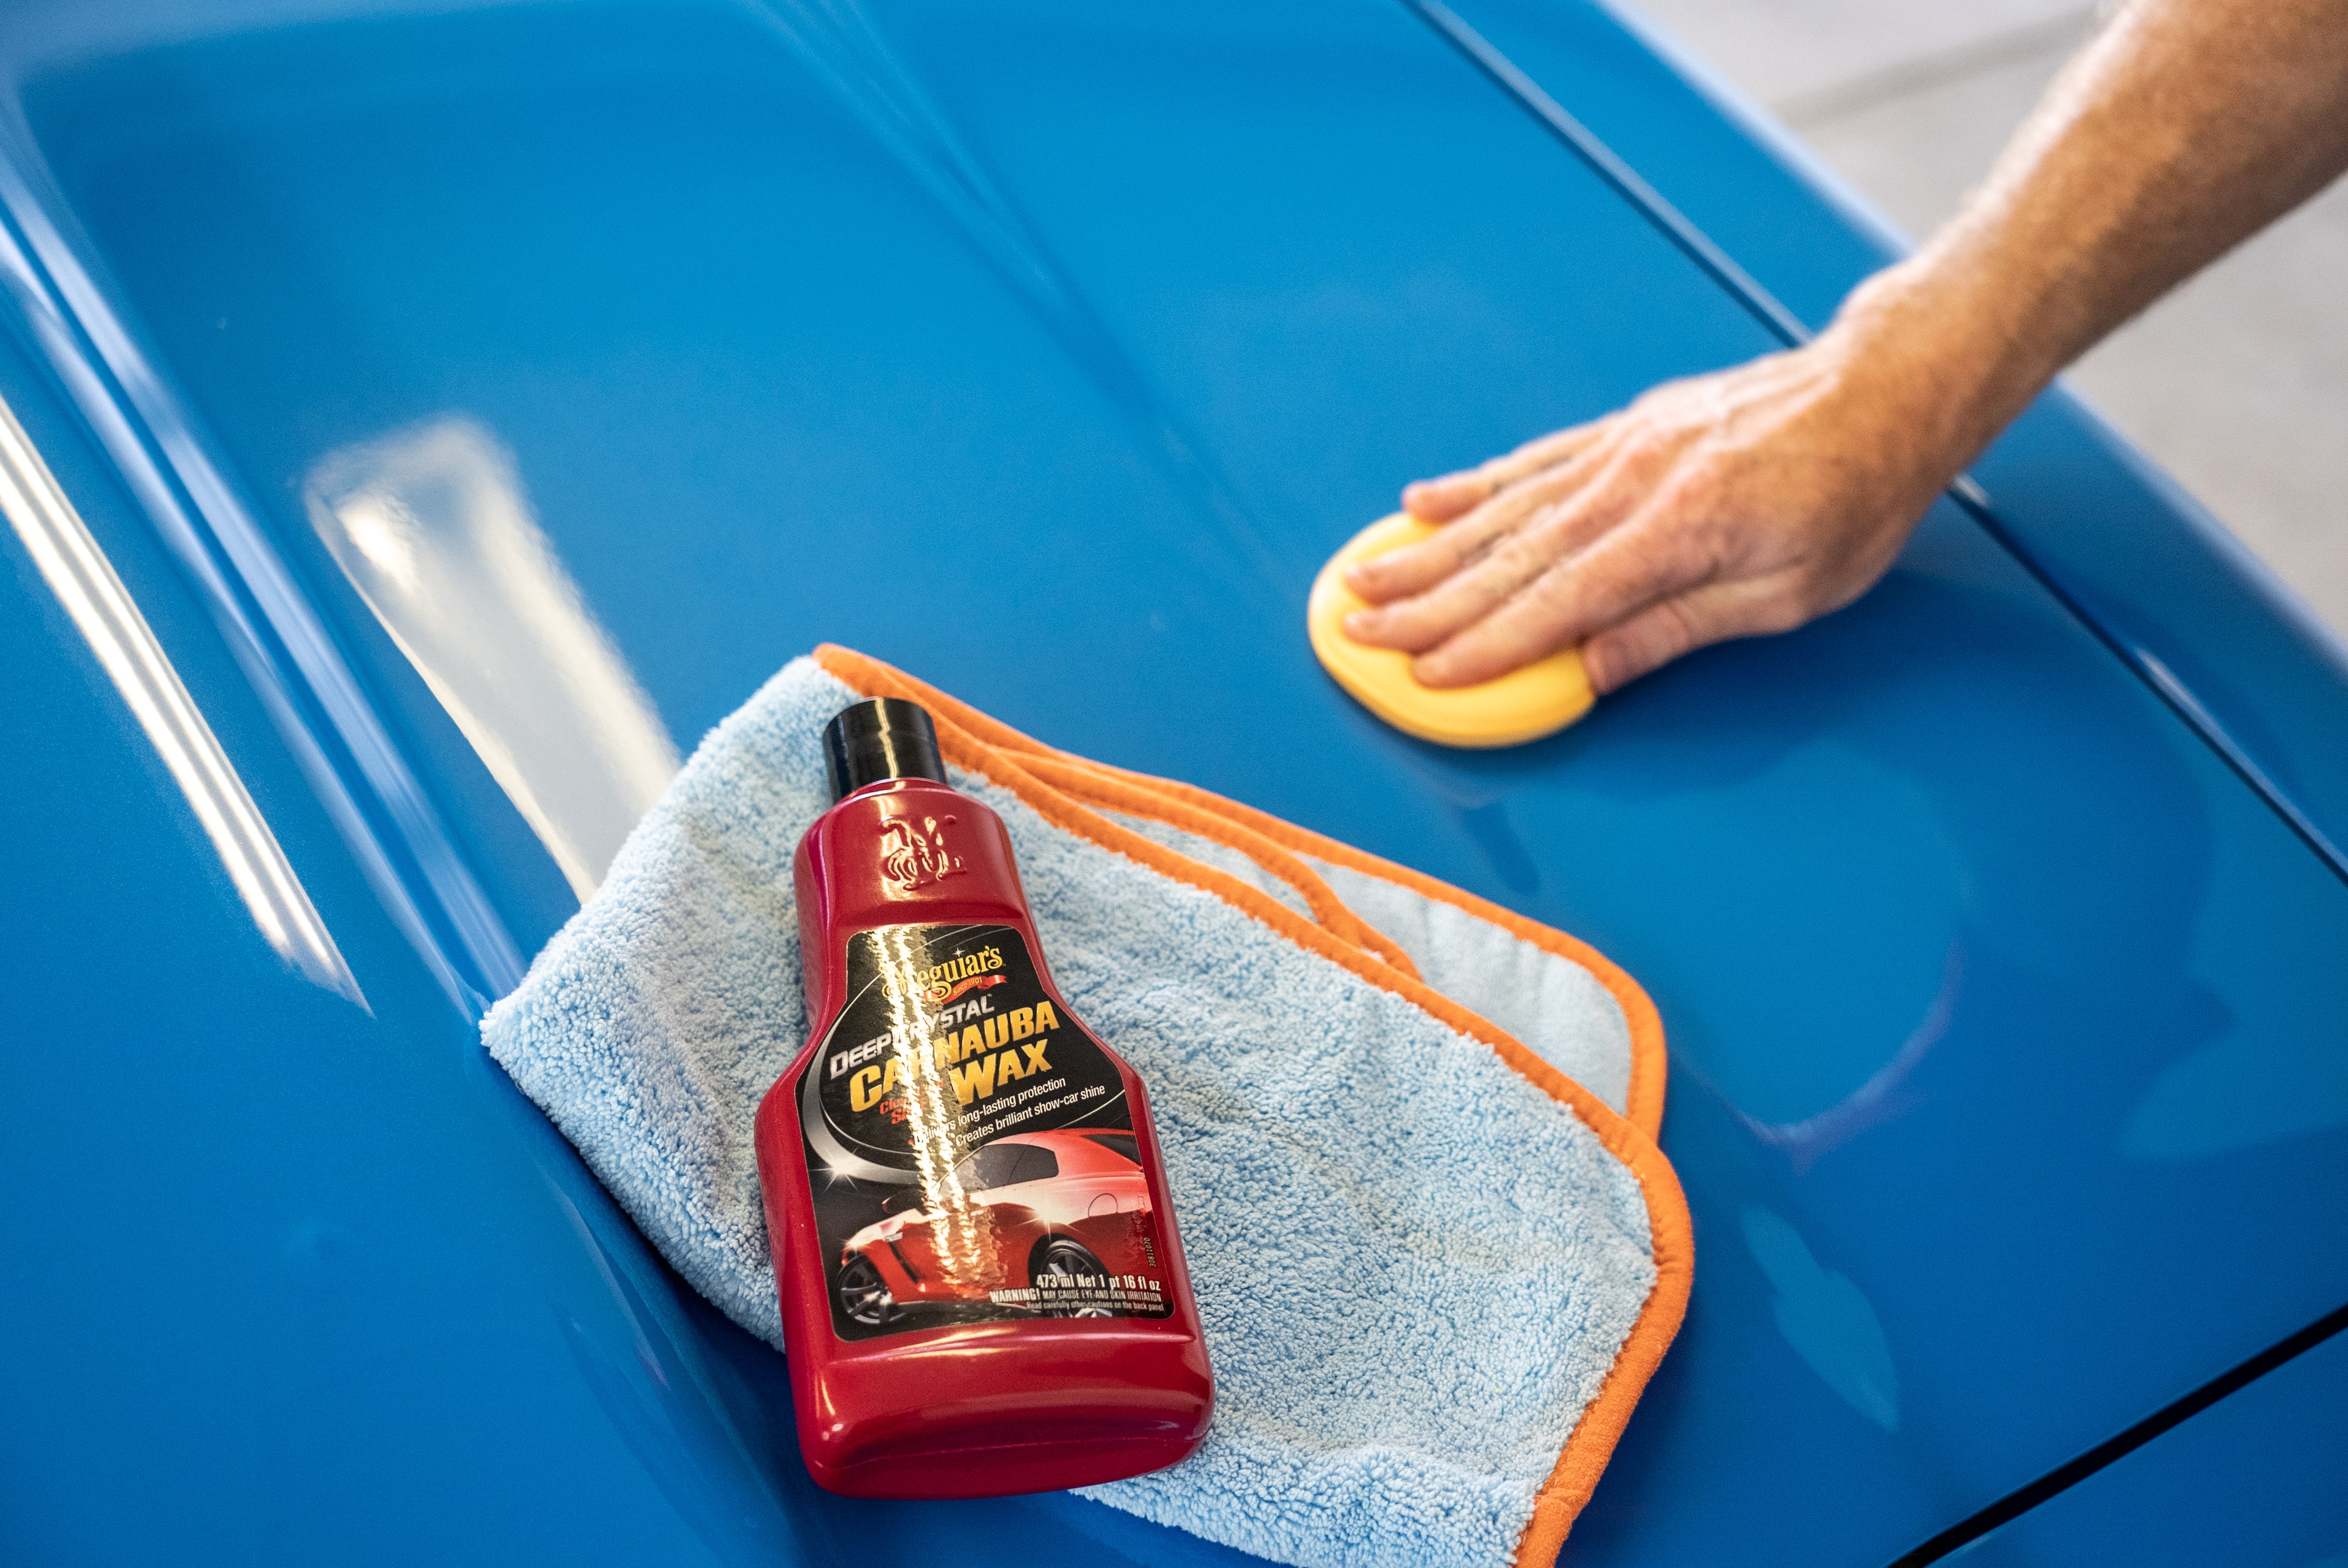
A quick wax job not only shields that hard work from the elements but also adds a slick shine to the ride.
Choose between paste wax or spray wax. Paste usually lasts longer, but spray is a breeze to apply.
For paste wax, use a clean buffing pad and apply it in circular motions with light pressure for even coverage. Let it dry, then wipe it off with a clean microfiber towel.
With spray wax, just spray it on, wipe it with one microfiber towel, and then buff it off with a second clean towel.